Step by Step Guide on how to use 13tech App
Downloading and Launching the 13tech App
- Download the App: Get the app from the App Store (iOS) or Google Play Store (Android).
- Launch the App: Open the app after installation.

Registration and Login
-
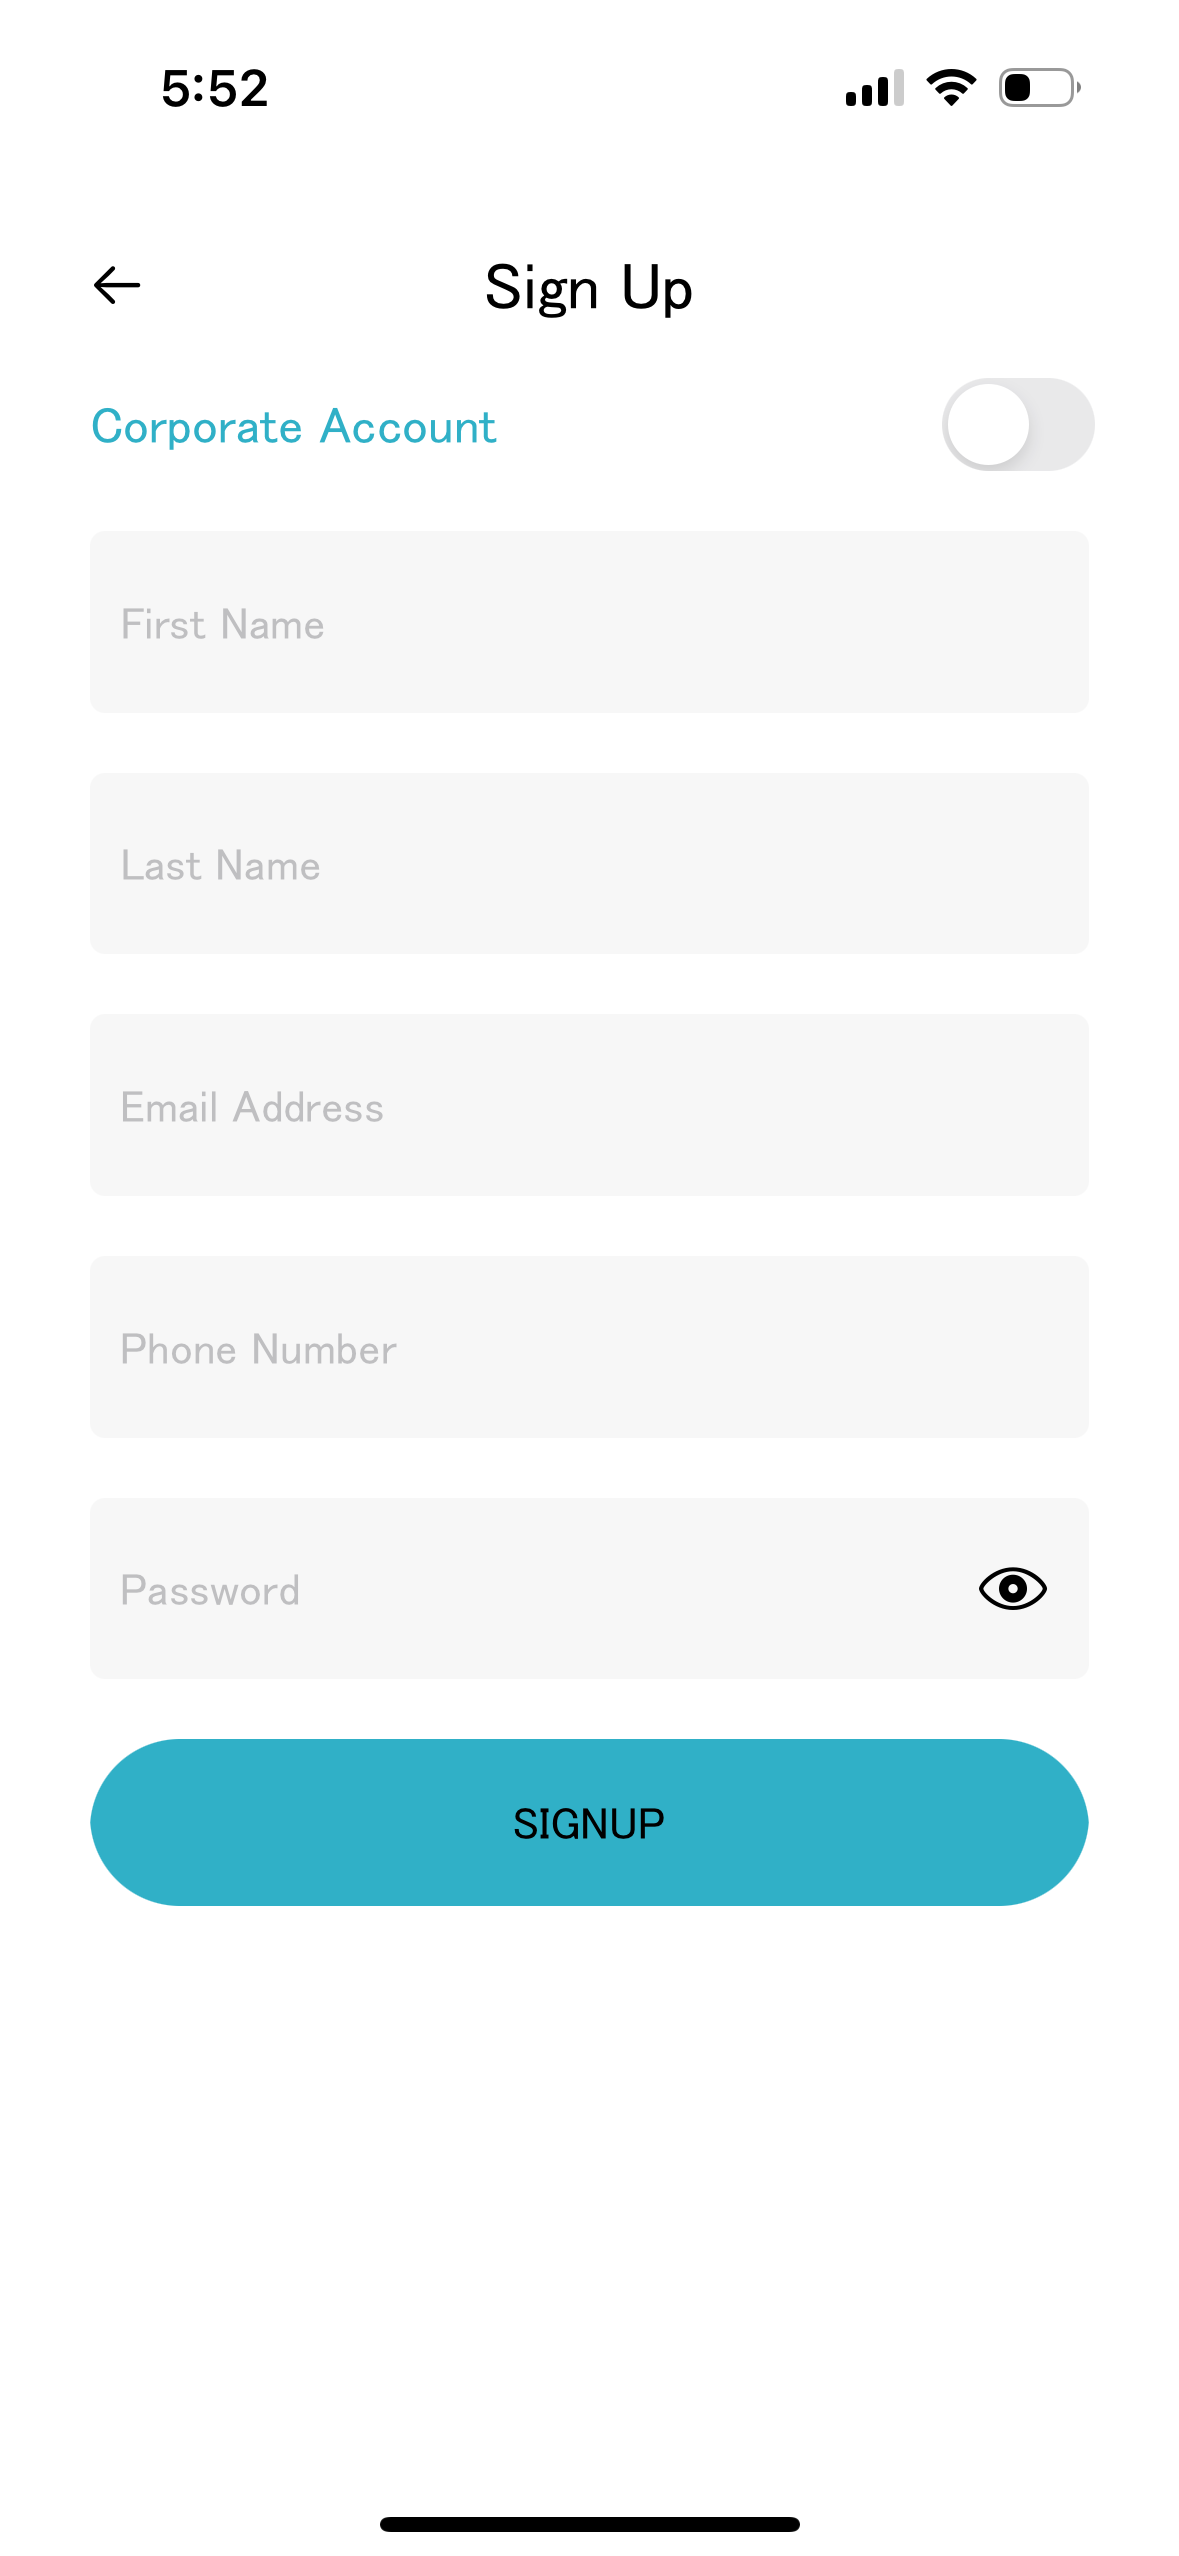
Registration:
-
Click on "Sign Up" to go to the registration page. - Use the toggle button at the top to choose between creating a company or corporate account. If your company is already registered, contact your manager.
- Fill in the necessary details: company name, first name, last name, email address, phone number, and password. Ensure the email is valid for communication and verification.
 Click on the "Sign Up" button to complete the registration.
-
-
Automatic Redirection to Login Page: After successful registration, you will be redirected to the login page.
-
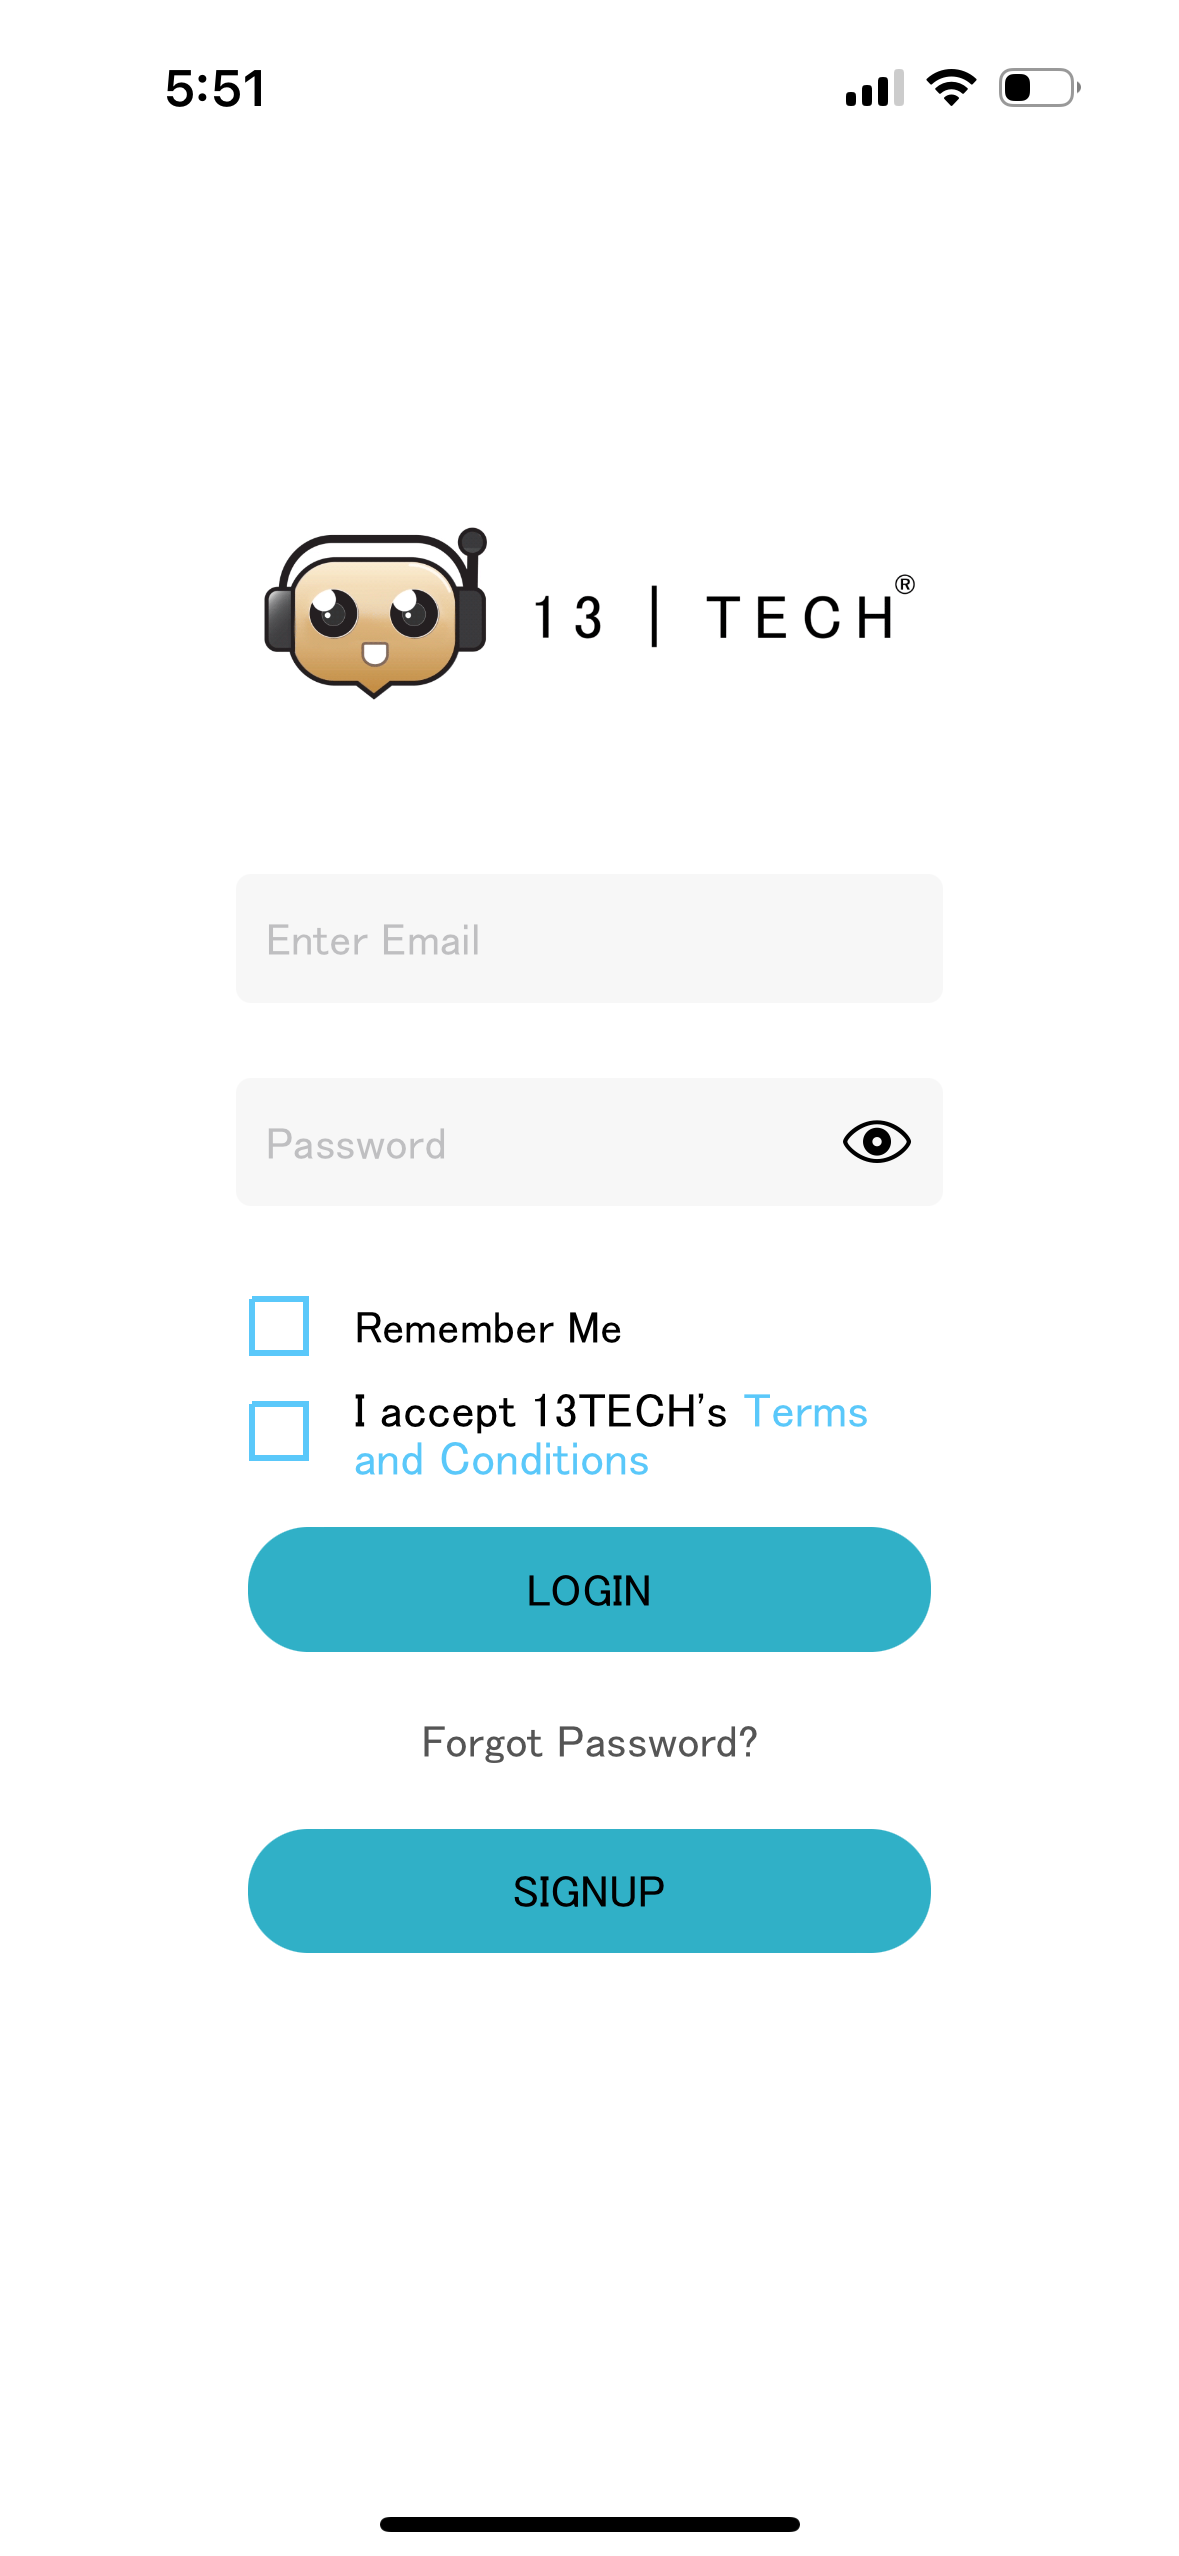
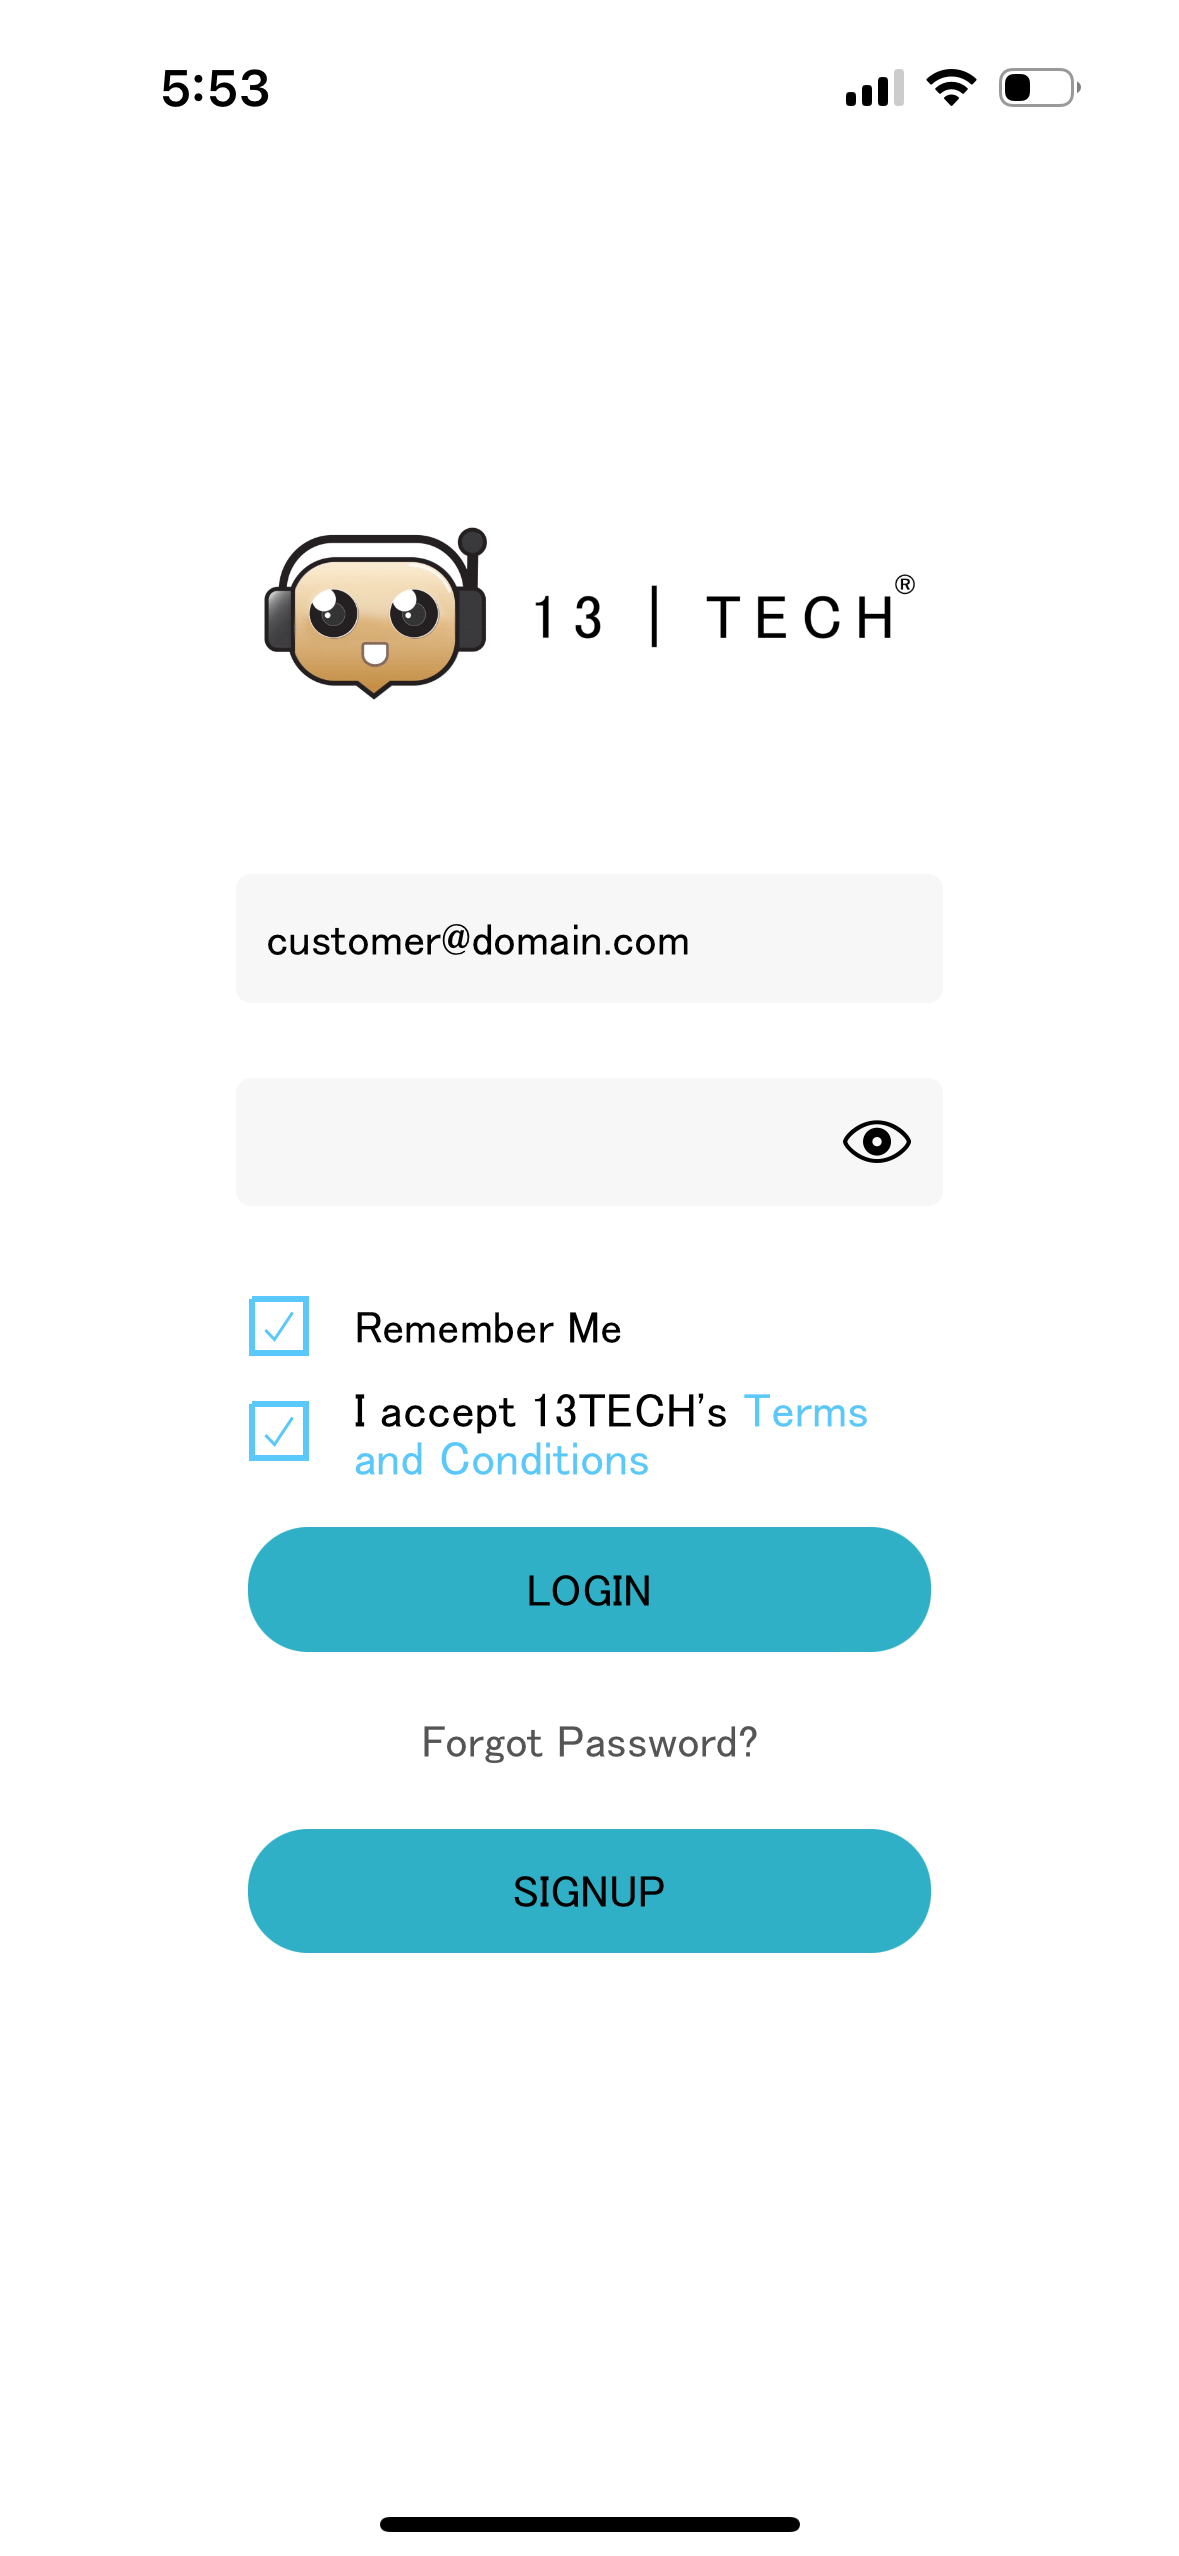
Login:

- Accept the terms and conditions by clicking the checkbox.
- Optionally, select "Remember me" to save your credentials for future logins.
- Click on the "Login" button to access your account.
- Accept the terms and conditions by clicking the checkbox.
-
Forgot Password: If you forget your password, click on the "Forgot Password" link. A password reset link will be sent to your registered email address. For company or corporate accounts, the account manager or IT manager can reset your password from their control panel.
Using the App
-
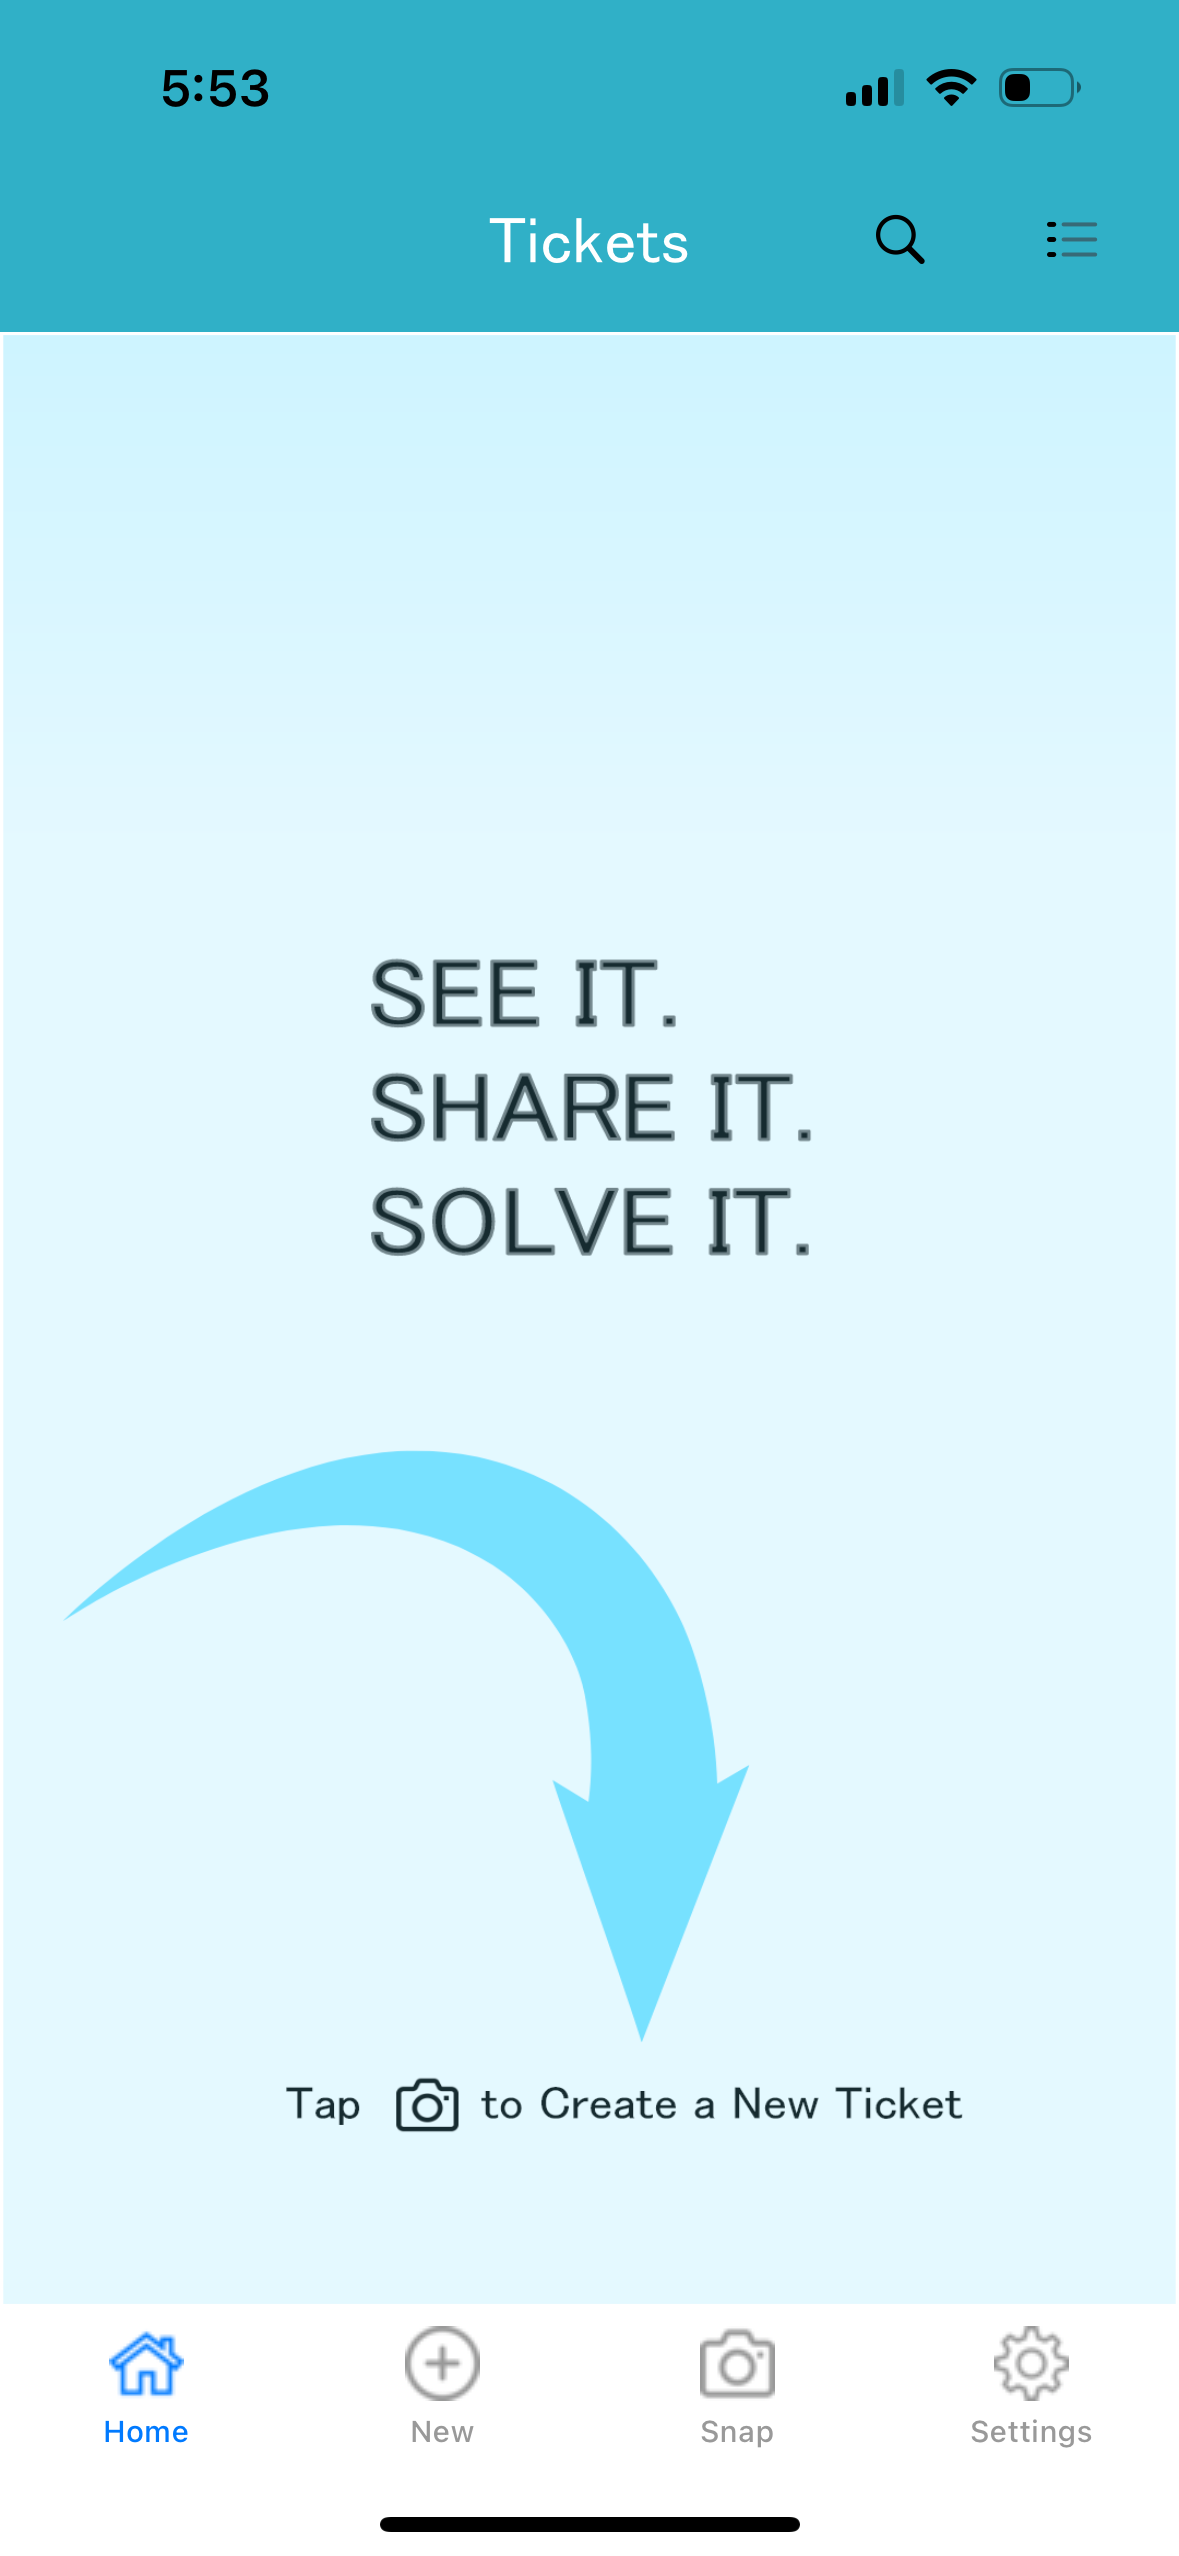
First Login - Create Issue Ticket: On your first login, you will be guided to create an issue ticket. Use your mobile camera to capture an image or video showing the issue or requirement.
-
Chat Screen: After creating a ticket, you will be taken to a chat screen where you can interact with technicians. You can send texts, images, and videos to explain your requirements or issues.
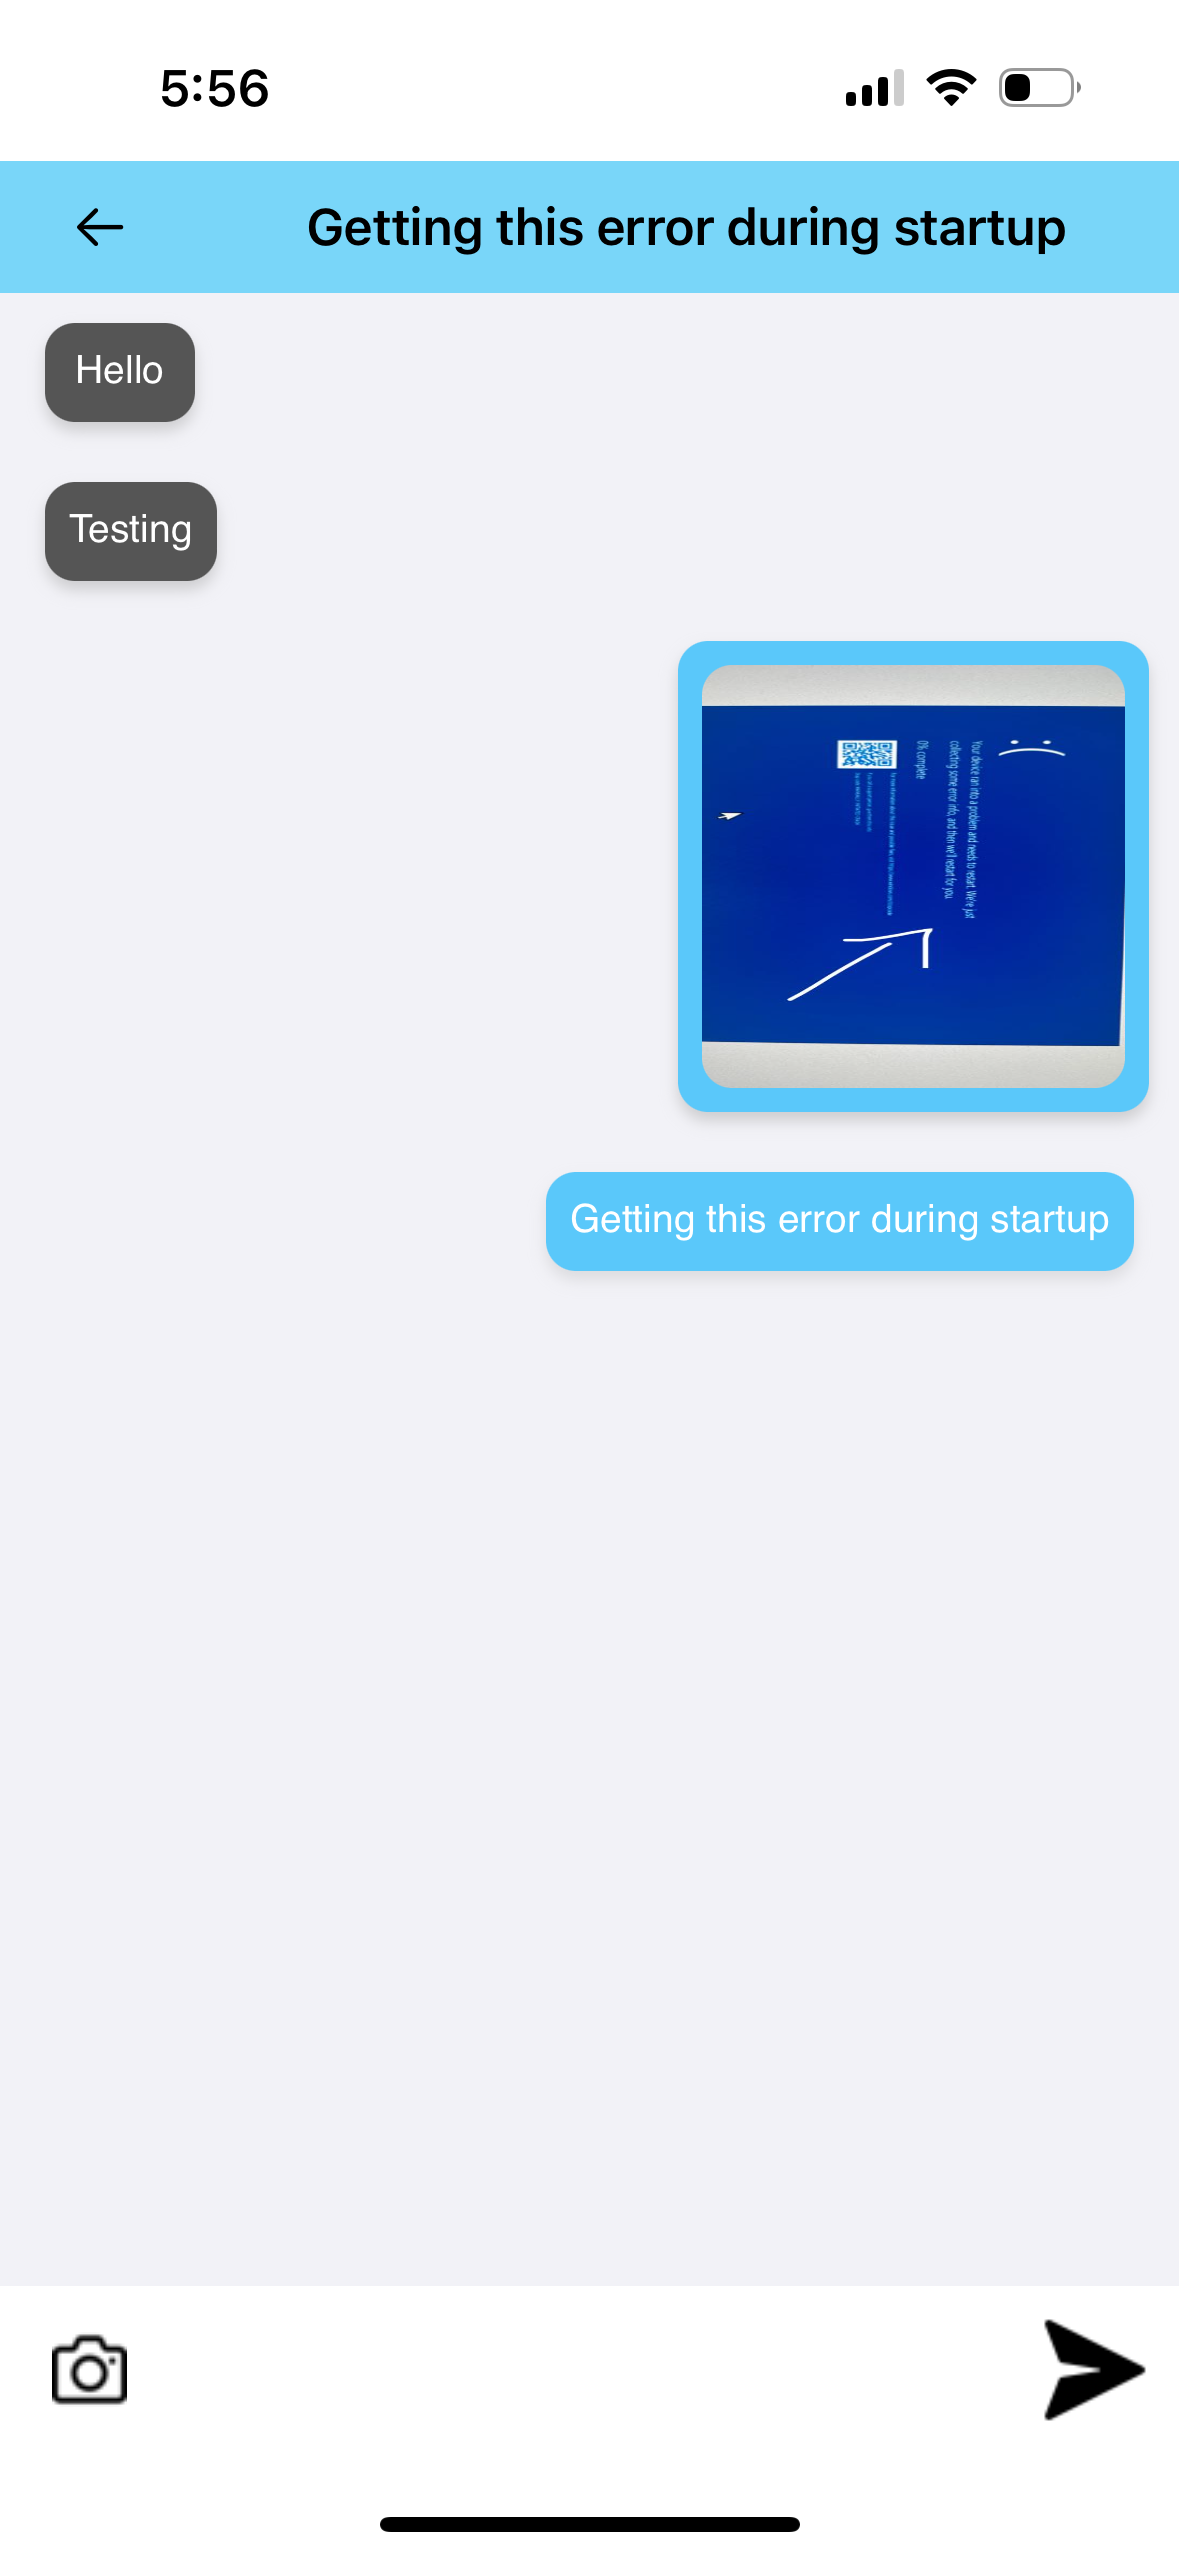 Image Annotation Tool: If you take a live picture, you can use the annotation tool to draw and write on the image. This tool allows you to select colors and brush sizes to mark your requirements clearly.
 -
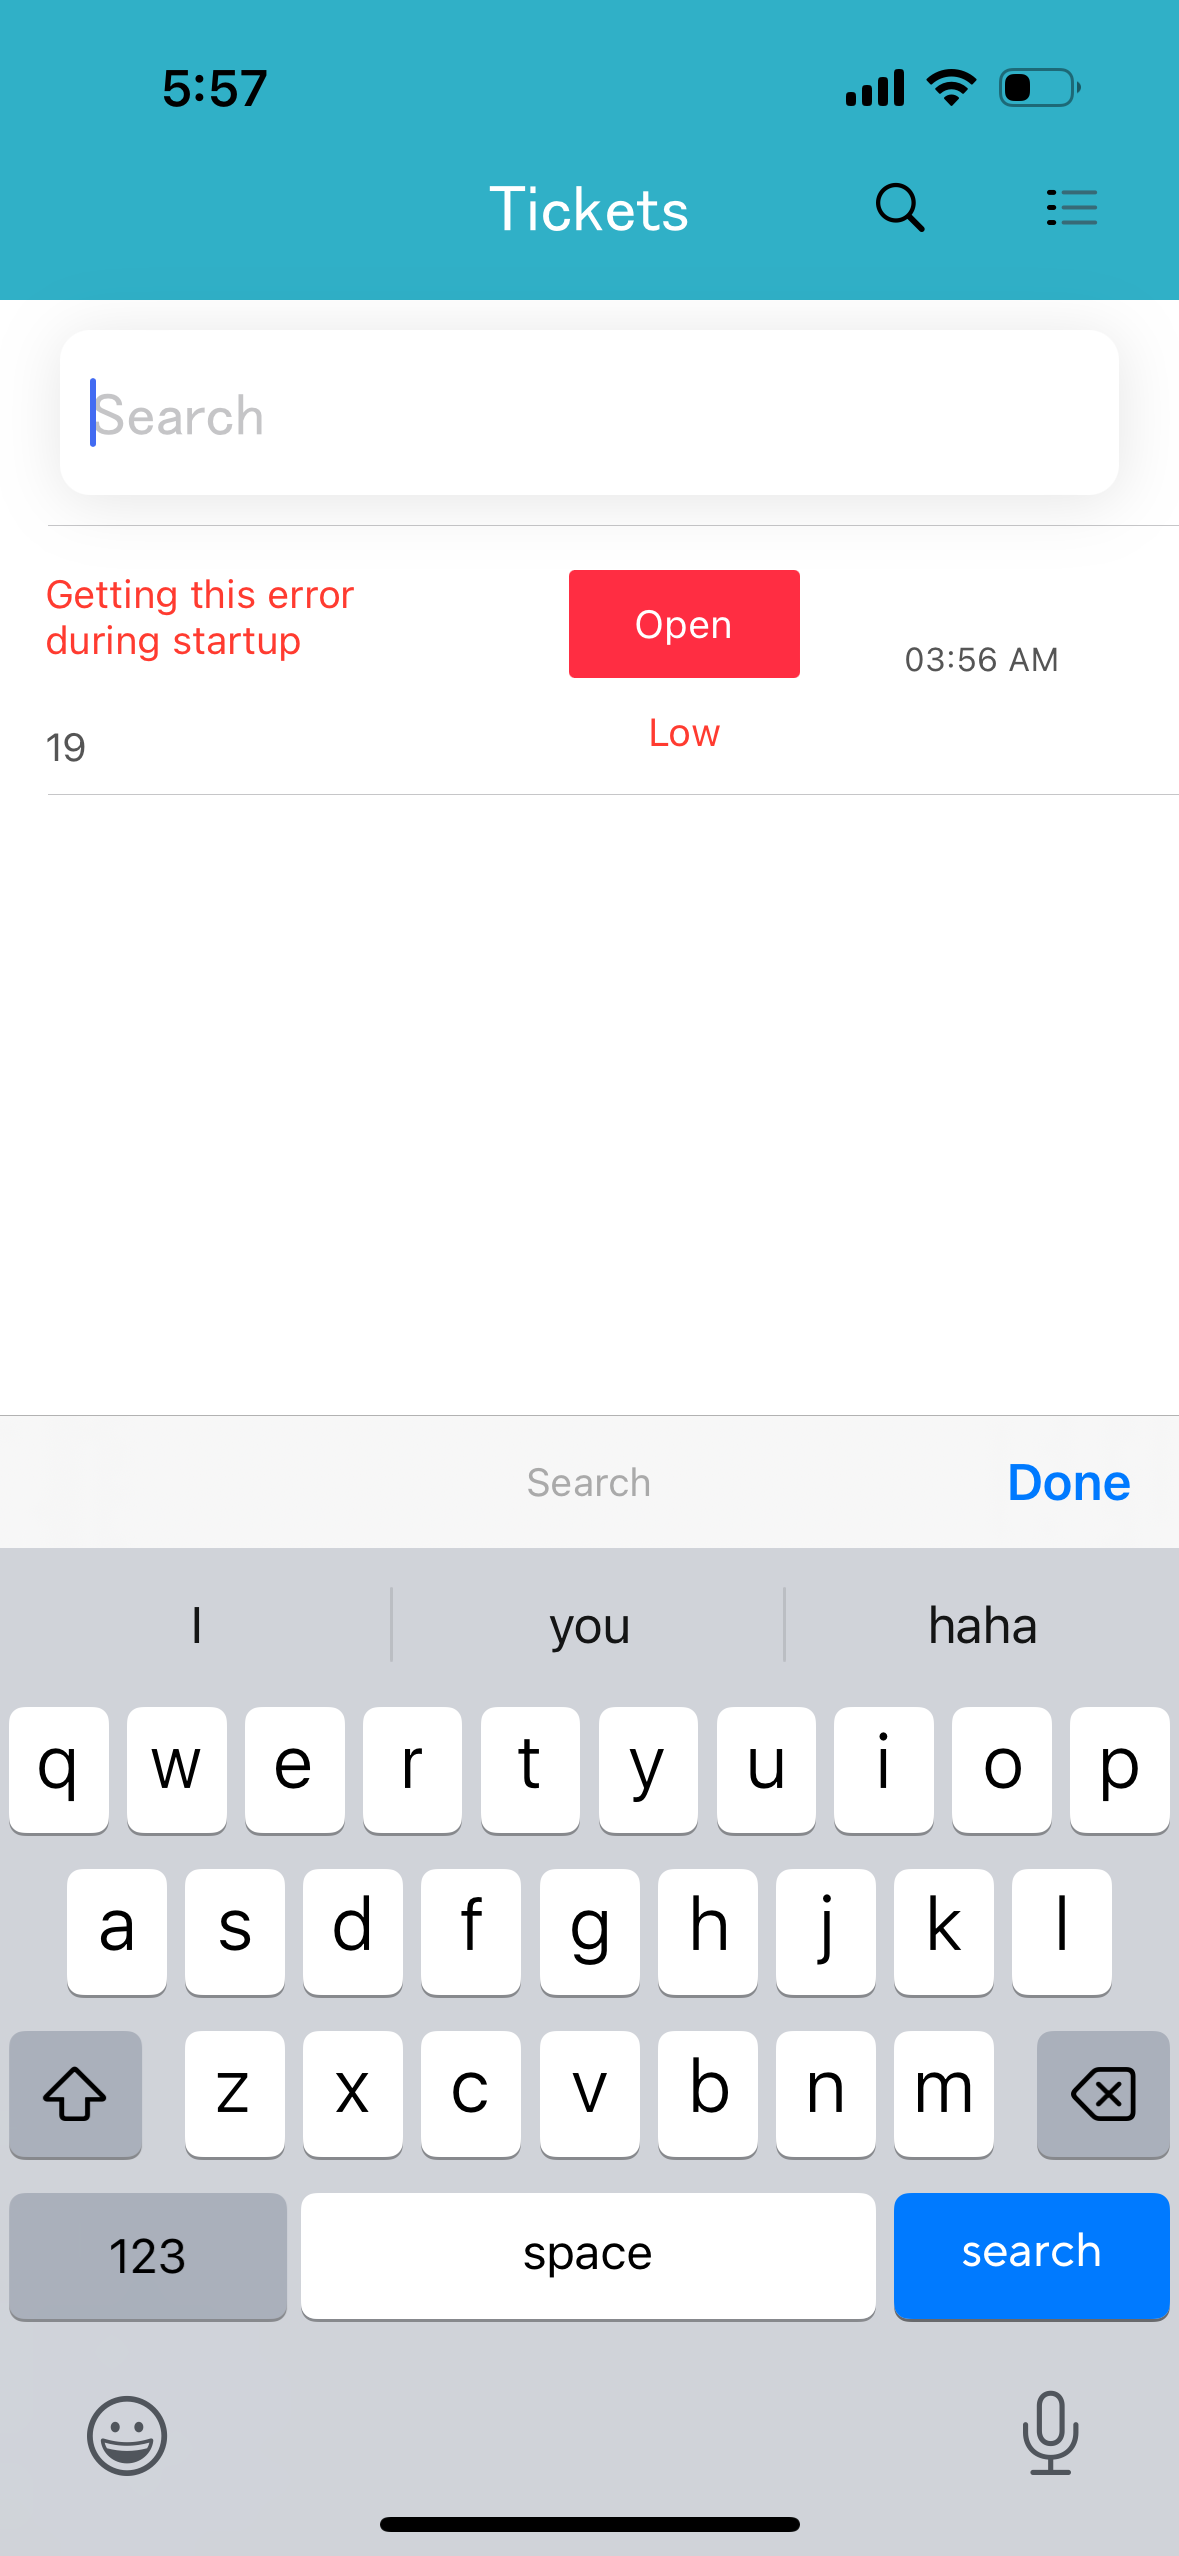
Back to Ticket List: Clicking the back button will take you to the ticket list, which displays the subject, status, and time of
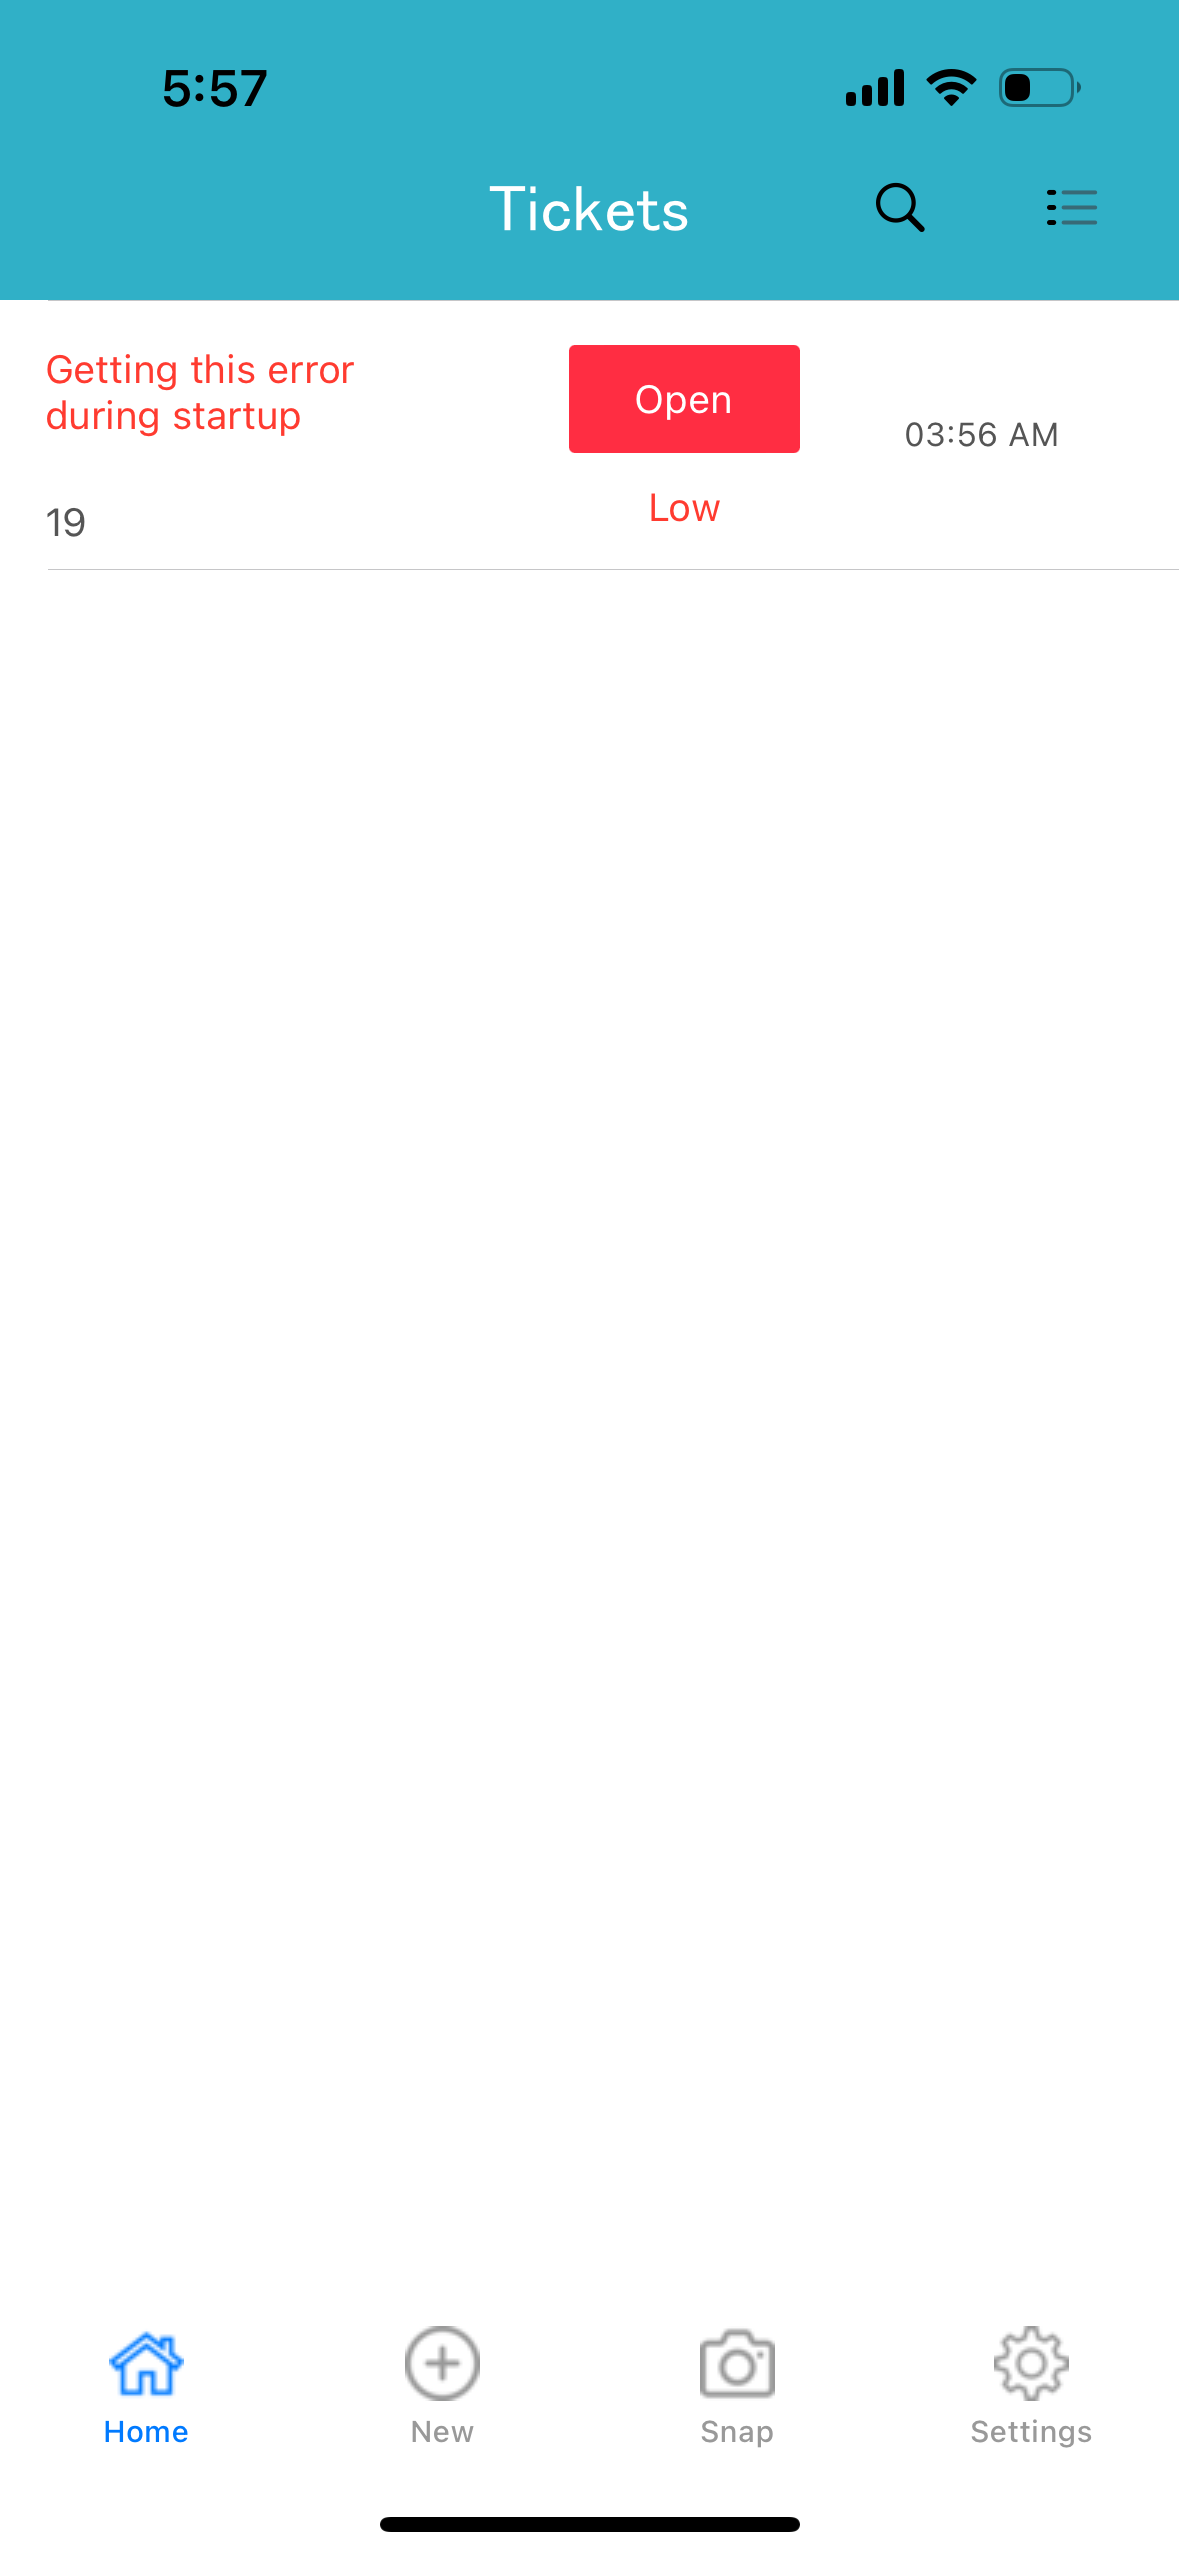 .
. -
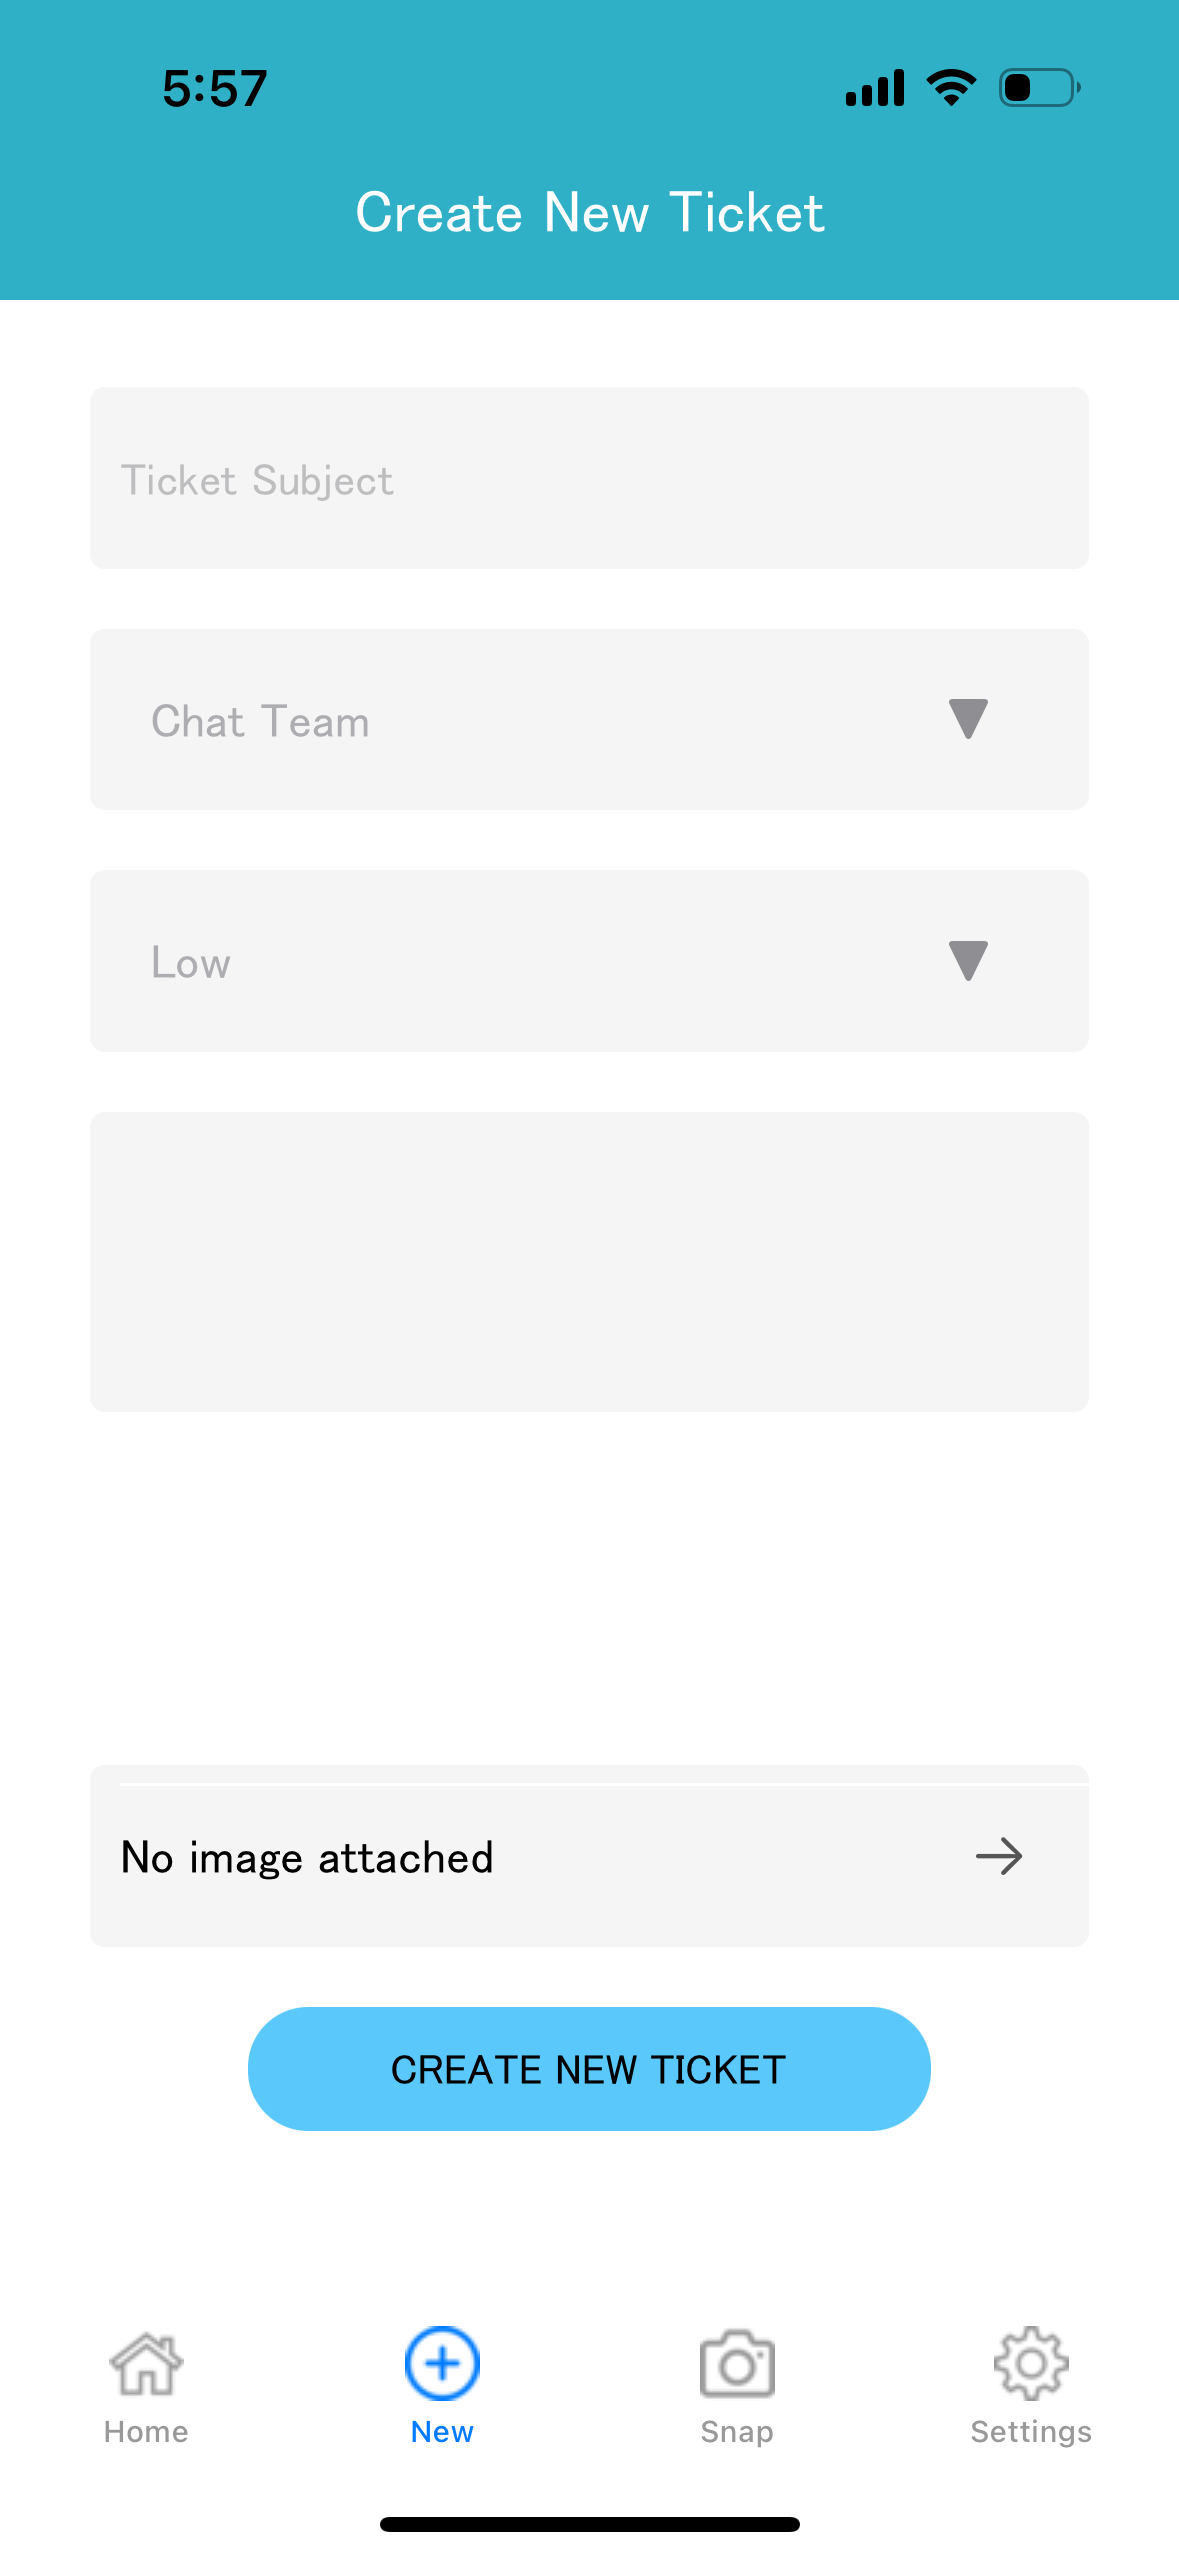
Form-Based Ticket Creation: If you prefer not to use images or videos, click on the "New" button at the bottom of the screen to create a ticket using a form. You can use text or an image from your gallery for the ticket.
-
Filter and Search Tickets:


 .
.
-
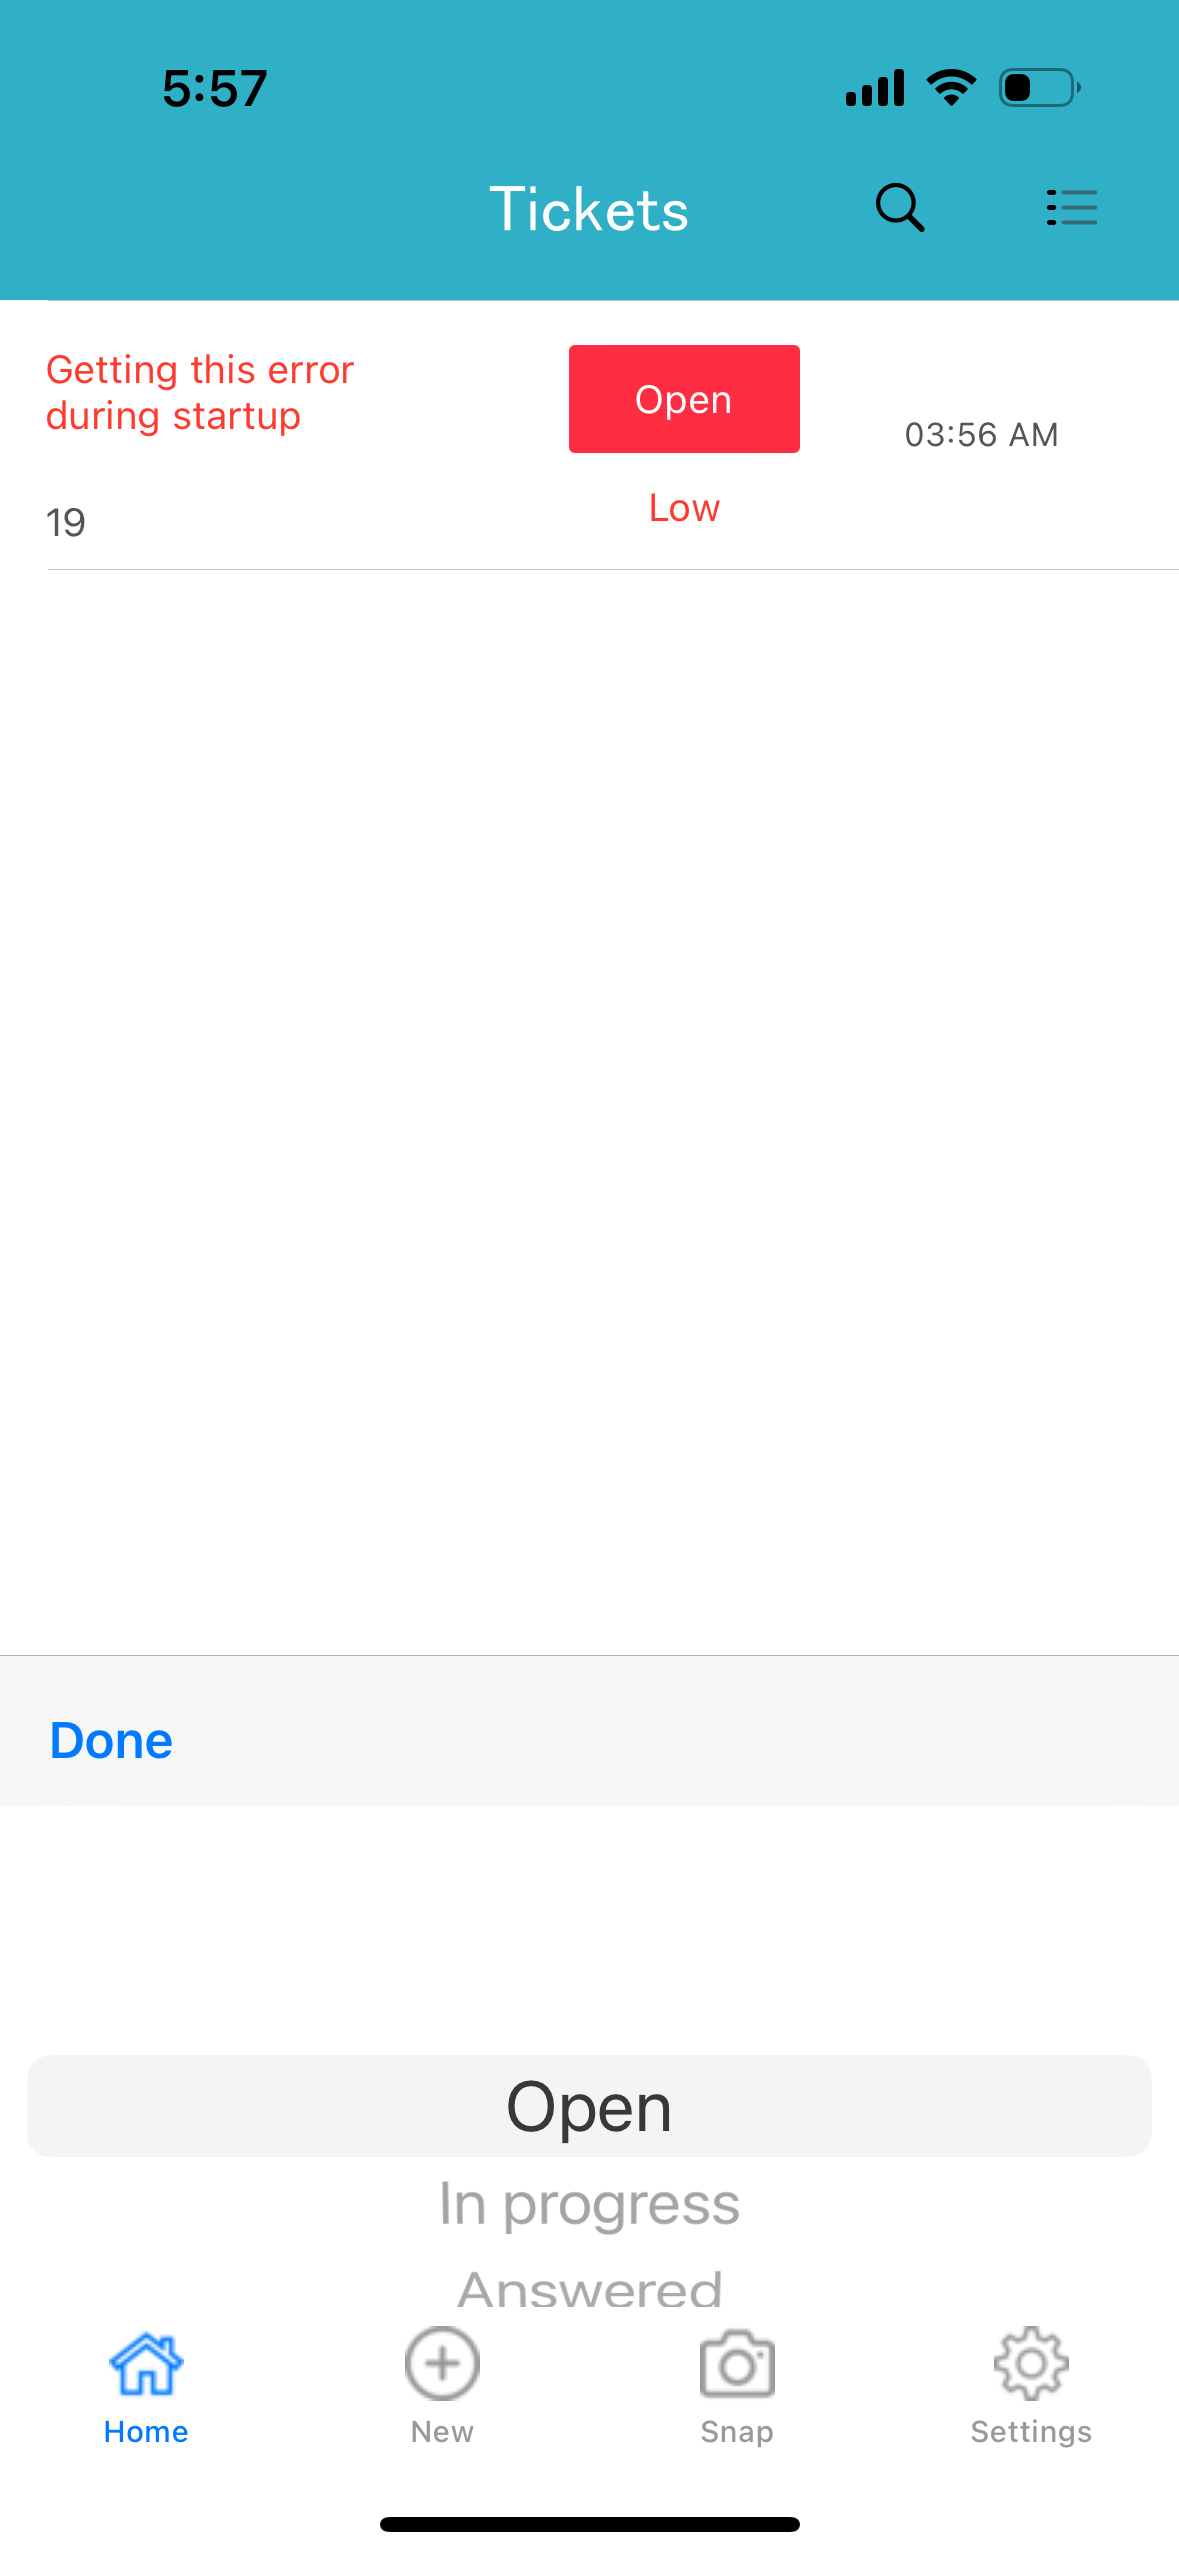
- Use the filter options to sort tickets by status for easier management.
- Use the search icon on the top right to search for ticket subjects if you have multiple tickets.
12. Settings:
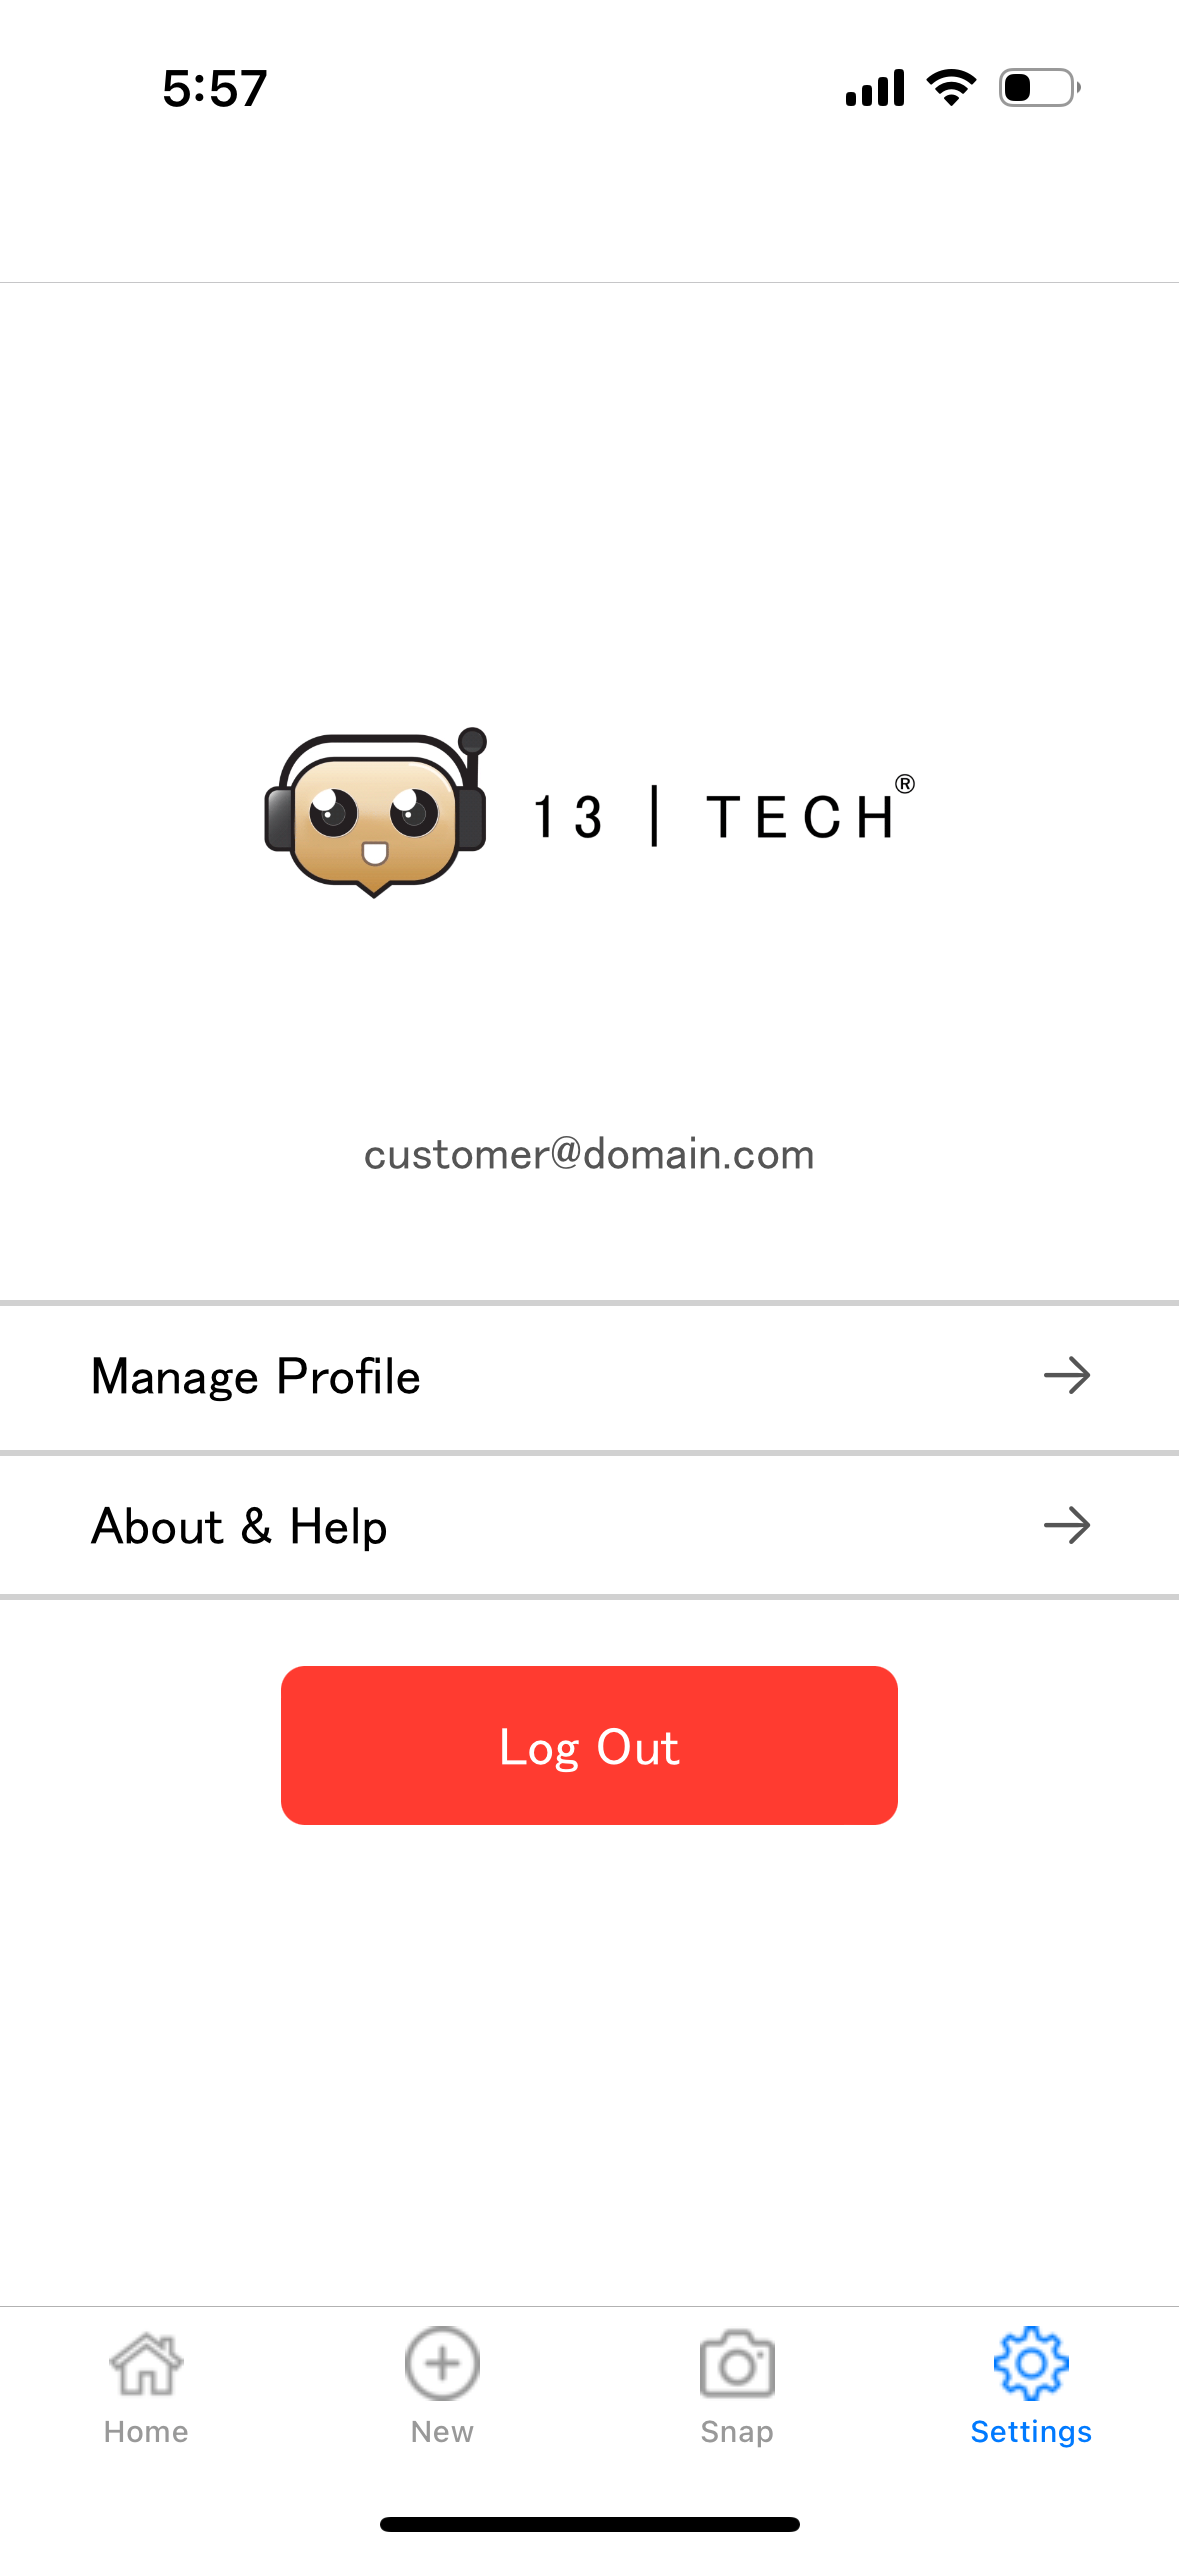
Settings will allow you to manage your profile, change password.
No Comments