DIY
guides
- Social Media Support
- How to manage the audience options available in the Facebook?
- How to guard your personal information?
- How to manage access of third application access?
- Instagram: How to keep your Posts private?
- Instagram: How to keep Your account private?
- Instagram- How to keep activity status turned OFF?
- LinkedIn-How to keep your account safe from hacking?
- LinkedIn- How to stop other people viewing your connections?
- Windows guide
- How to setup windows 10 account?
- How to keep the Windows Up-to-date?
- How to clear Windows update cache?
- How to connect your Windows PC with internet?
- Internet Security
- 13tech App Guide
Social Media Support
account settings
How to manage the audience options available in the Facebook?
Public: The content is available to anyone who can access Facebook
Friends: The content is limited your Facebook friends.
Custom: This option allows you to share contents only selected people
Only me: The content is visible only to you, none other than you can see the Post if you enable this option.
To see the option
On your Facebook page, go to top right corner and click the downward pointing arrow. Click ‘Settings and privacy’ and go to the privacy option in left pane. In this privacy settings and tools, you can check your audience.
**Error uploading images
You can edit options like ‘your activity’ and ‘how people find and contact you’ in this page
Read carefully and make changes according to your interests to limit your information on Facebook.
Recommended privacy settings
It’s better to limit You posts and activities within the ‘Friends’. Its always a good practice to review your past posts and your audience to make sure that information is also secure.
For a maximum security, edit the option ‘Who can contact me’ to enable it only to ‘friends’ or ‘friends of friends.
For the last option ‘Do you want other search engines to link to your profile’, we recommend keeping ‘NO’ for the option to minimise your information available publicly.
Note: These setting preferences may vary with individuals and their needs, it is recommended that you choose best options carefully according with your interests.
How to guard your personal information?
Facebook allows you to share all your personal information on the social network. These personally-identifying information (PII) are critical to share in the social media, as when it combines with other information could keep your identity or bank account at risk.
These include your birthday, high school, location etc. This information is visible in the ‘About’ tab under your Facebook cover photo (Home page). There are seven sections you could edit and keep limited information about you to avoid identity risks.

We recommend keeping your personal information away for the public by selecting ‘only me’ in the option.

Note: These setting preferences may vary with individuals and their needs, it is recommended that you choose best options carefully according to your interests.
How to manage access of third application access?
Third-party apps can access information form your Facebook account once you gave permission. To view the apps that you gave permission to access your Facebook profile, open ‘privacy settings and tools’. The go-to ‘Apps and Websites’.

The information third party apps usually take are, in general, your name, photos, gender, networks, location etc. In addition, apps can access your friends' list and any other information available to the public.
You can see here which apps are using your Facebook account. In the view and edit option for each app, according to your choice you can edit the public visibility option and information you share with the app.

In addition, blocking option in the left pane allows you not only to block users but also apps.


Carefully read and use options to block the apps which you no longer use.
Moreover, you have an option to turn off all third-party apps at once. In the edit option under ‘Apps and Websites’.

Please read carefully before you turn-off this option
Note: These setting preferences may vary with individuals and their needs, it is recommended that you choose best options carefully according to your interests.
Instagram: How to keep your Posts private?
Your profile photo and posts in the image-driven app, by default, can be seen by everyone. In the privacy settings, you have the option to make it visible only to approved followers.
- Go to your ‘Account profile’
- Open the ‘Edit Your Profile’
- Turn ON the Option ‘Posts Are Private’
This keeps your photos/posts only visible to your approved followers and no longer available to public.
Instagram: How to keep Your account private?
In the app version on the mobile device , Android or IOS
- In your account profile, tap
 to open Settings.
 - In the option
 Settings at the bottom left, Tap to see privacy options.
 - Locate and tap the Account Privacy in Privacy settings


Privacy > Account Privacy.
This makes your account private. By making your account private, your profile contents and other information are not visible to the public.
Instagram- How to keep activity status turned OFF?
- On your account profile, tap
 at the top right (for android) to see settings option.
 - Tap
 Settings at the bottom of the page then go to > Privacy and then > Activity Status.
 - Tap the slide switch
 (if it's ON) next to Show Activity Status.


This will turn off your activity status.
Note: Instagram also notifies you, if you turned off you won't be able to see others activity status as well. Make changes according to your preferences and interests.
LinkedIn-How to keep your account safe from hacking?
Enabling two-step authentication gives you strong security in addition to a strong password you have. Whenever there is an unusual login to the account, If this option is enabled, LinkedIn will send you a verification code. Then, after confirming your identity only the account can be accessed.
To enable two-step authentications
- Tap your profile icon, and you can see settings option below your profile photo
- Tap settings option, to see Account Tab.
- In the Account tab (the first tab), go to Two-step verification.

- If you didn’t set-up two-step verification, you can see Set-up option in the page.
Note: LinkedIn notifies you that enabling this feature will logout from any devices you signed in, remove all remembered device and disconnect access to any third-party apps or partners

- Then you can choose which the medium to verify, either SMS via phone or Authenticator App.

- After confirming your password and identity you will be able to enable this feature
LinkedIn- How to stop other people viewing your connections?
- Tap your profile icon, and you can see settings option below your profile photo
- Tap settings option, to see Privacy Tab.
- In the Privacy Settings, select the option ‘who can see your connections’

- You have two options, your connections or only you. If you tap ‘Only you’, then your list of connections is only visible to you.

Windows guide
How to setup windows 10 account?
This guide will help you to create new Microsoft account and keep system up-to-date.
Advantage: Only a single sign-in is required to access all Windows 10 and other Microsoft services.
Steps to setup and configure MS account
- Sign-up for an account while initializing windows 10 or visit account.microsoft.com to create one. You can either sign-in with a new username and password or use the credentials of other Microsoft services you use, for eg: Outlook, MSN, Windows Live Messenger, Xbox Live, Skype, Office or Bing etc.
Note: you can use any email address to sign-in.

Enter the password and finalise the step.

- While initialising windows 10, you need to sign-in with your Microsoft account. Any information associated with the account, including profile picture and contacts will be fetched.

- After setting up the account you can configure it from the Operating System (Windows 10).
Open the main settings and choose accounts to see the options to modify. Click the start menu (windows icon at the left corner) and choose settings.

Choose Accounts as shown below:

Open the account to explore the options on the left pan as shown below. You can manage your account, modify security settings and synchronise the account.

In the option ‘Your Info’, you can manage the account and that takes you to webpage where you created the account.

In ‘Email & accounts’ options on the left pane, you can add accounts/ other Microsoft apps accounts.

In the sync your settings, you have the option to keep your passwords to be synchronised using your account

In addition, you can also add family members in the option ‘family and other users’, this option enables them to access the system with their own account and without sharing your account.
How to keep the Windows Up-to-date?
Even though Windows 10 has an automatic update feature, you can easily check for updates yourself. Updates are usually two types: (i) the major updates (anniversary update) that add new features while (ii) smaller updates improve security and other features.
This guide helps you to check for updates manually.

Select the update and security option

If the update is available, it will show a download option, you can download updates and perform install action.

In some cases, the system doesn’t show the download option instead there will be ‘check for updates option’. Click on the option and any available update will now display at the top.

You can perform the install action after the download. In some cases, you will need to restart the system to complete the update. You can restart the system right or you can schedule a conviniet time.

You can view update history below the update option. This is useful to monitor security updates for work.

How to clear Windows update cache?
This is useful while windows update to run without any troubles.
Go to Start and type ‘services’ in the windows search bar.

Scroll down and locate ‘Windows Update’

Click on Windows Update and stop the service.
Then Go to ‘C:\Windows\SoftwareDistribution\Download’ in the file directory. And select all the files (use keyboard short cut ‘Ctrl+A’ to select all) and delete it. This will clear the cache.
Note: you are deleting windows cache, copy the data into another folder only if you want to keep it.

Now go back to windows update again and start the service. Wait till it shows running.

Go to windows update and click check for updates

If the update is available, download and install the latest updates.
How to connect your Windows PC with internet?
Go to windows settings options

Go to 'network and Internet' in the settings

Or click the network icon in the bottom right corner notification bar. And then click the Network and Internet security.

Then Click on the ‘show available network options’. The available networks will pop-up from the network icon. Click the network you want to connect with, then tick the option ‘connect automatically’ to connect whenever the network is available.

Then click the connect option, then enter the password (or the security key) and click next to complete the connection setup.
Internet Security
How to use privacy dashboard for your account security?
Microsoft provides a privacy dashboard common for an account regardless of a number of devices.
To access privacy dashboard go to : https://account.microsoft.com/account/privacy
Sign-in to access your account.
In this page, you can manage things from your browsing data to location privacy settings. Moreover, scrolling down shows you options to manage privacy settings for various Microsoft applications.

Within the Windows app, you can control many privacy options. To see these options go to, Setting-> Privacy.
Here for each option, you maintain your privacy by enabling or disabling app permissions (location, camera, microphone etc.) which can be accessed through the options shown in the left pane.

Another important thing to note that you can choose which all apps can run in the background. This option can be visible by scrolling down the left pane.

Choose the apps you don’t want to run in the background. You can turn off the apps permission by switching off the corresponding sliding switches.
What to do if you are hacked?
There are millions of hacking cases reported each year. The following steps help you to get back in track even though you are tracked.
Usual incidents following an account hacking:
- Call from your credit card company regarding any unusual activity or you notice any unusual account usage
- Strange requests to friends or family requesting money.
You can check whether your email address has been hacked by entering the website: https://haveibeenpwned.com/
Scan your computer for any virus in your computer, as it might be the primary reasons for your account breach. Do anti-virus scan to outroot any source of breaches within the system.
Step 1: change your passwords for all your accounts: email, bank, Paypal etc. if available set-up two-factor authentication to prevent unauthorised access.
Step 2: check for any usual activity in your account, check inbox or sent items to know any contacts or password reset request happened. In such cases, inform your company or any official persons that your account is breached.
Step 3: Check your bank transactions for any transactions, it is always preferred to inform the bank to block bank cards to prevent any loss.
13tech App Guide
How to guides - use 13tech app to snap, send and solve. The guide will give users step by step guide on how to use our own exclusive IT and Communication solutions app. Available both on IoS and Android.
Step by Step Guide on how to use 13tech App
Downloading and Launching the 13tech App
- Download the App: Get the app from the App Store (iOS) or Google Play Store (Android).
- Launch the App: Open the app after installation.

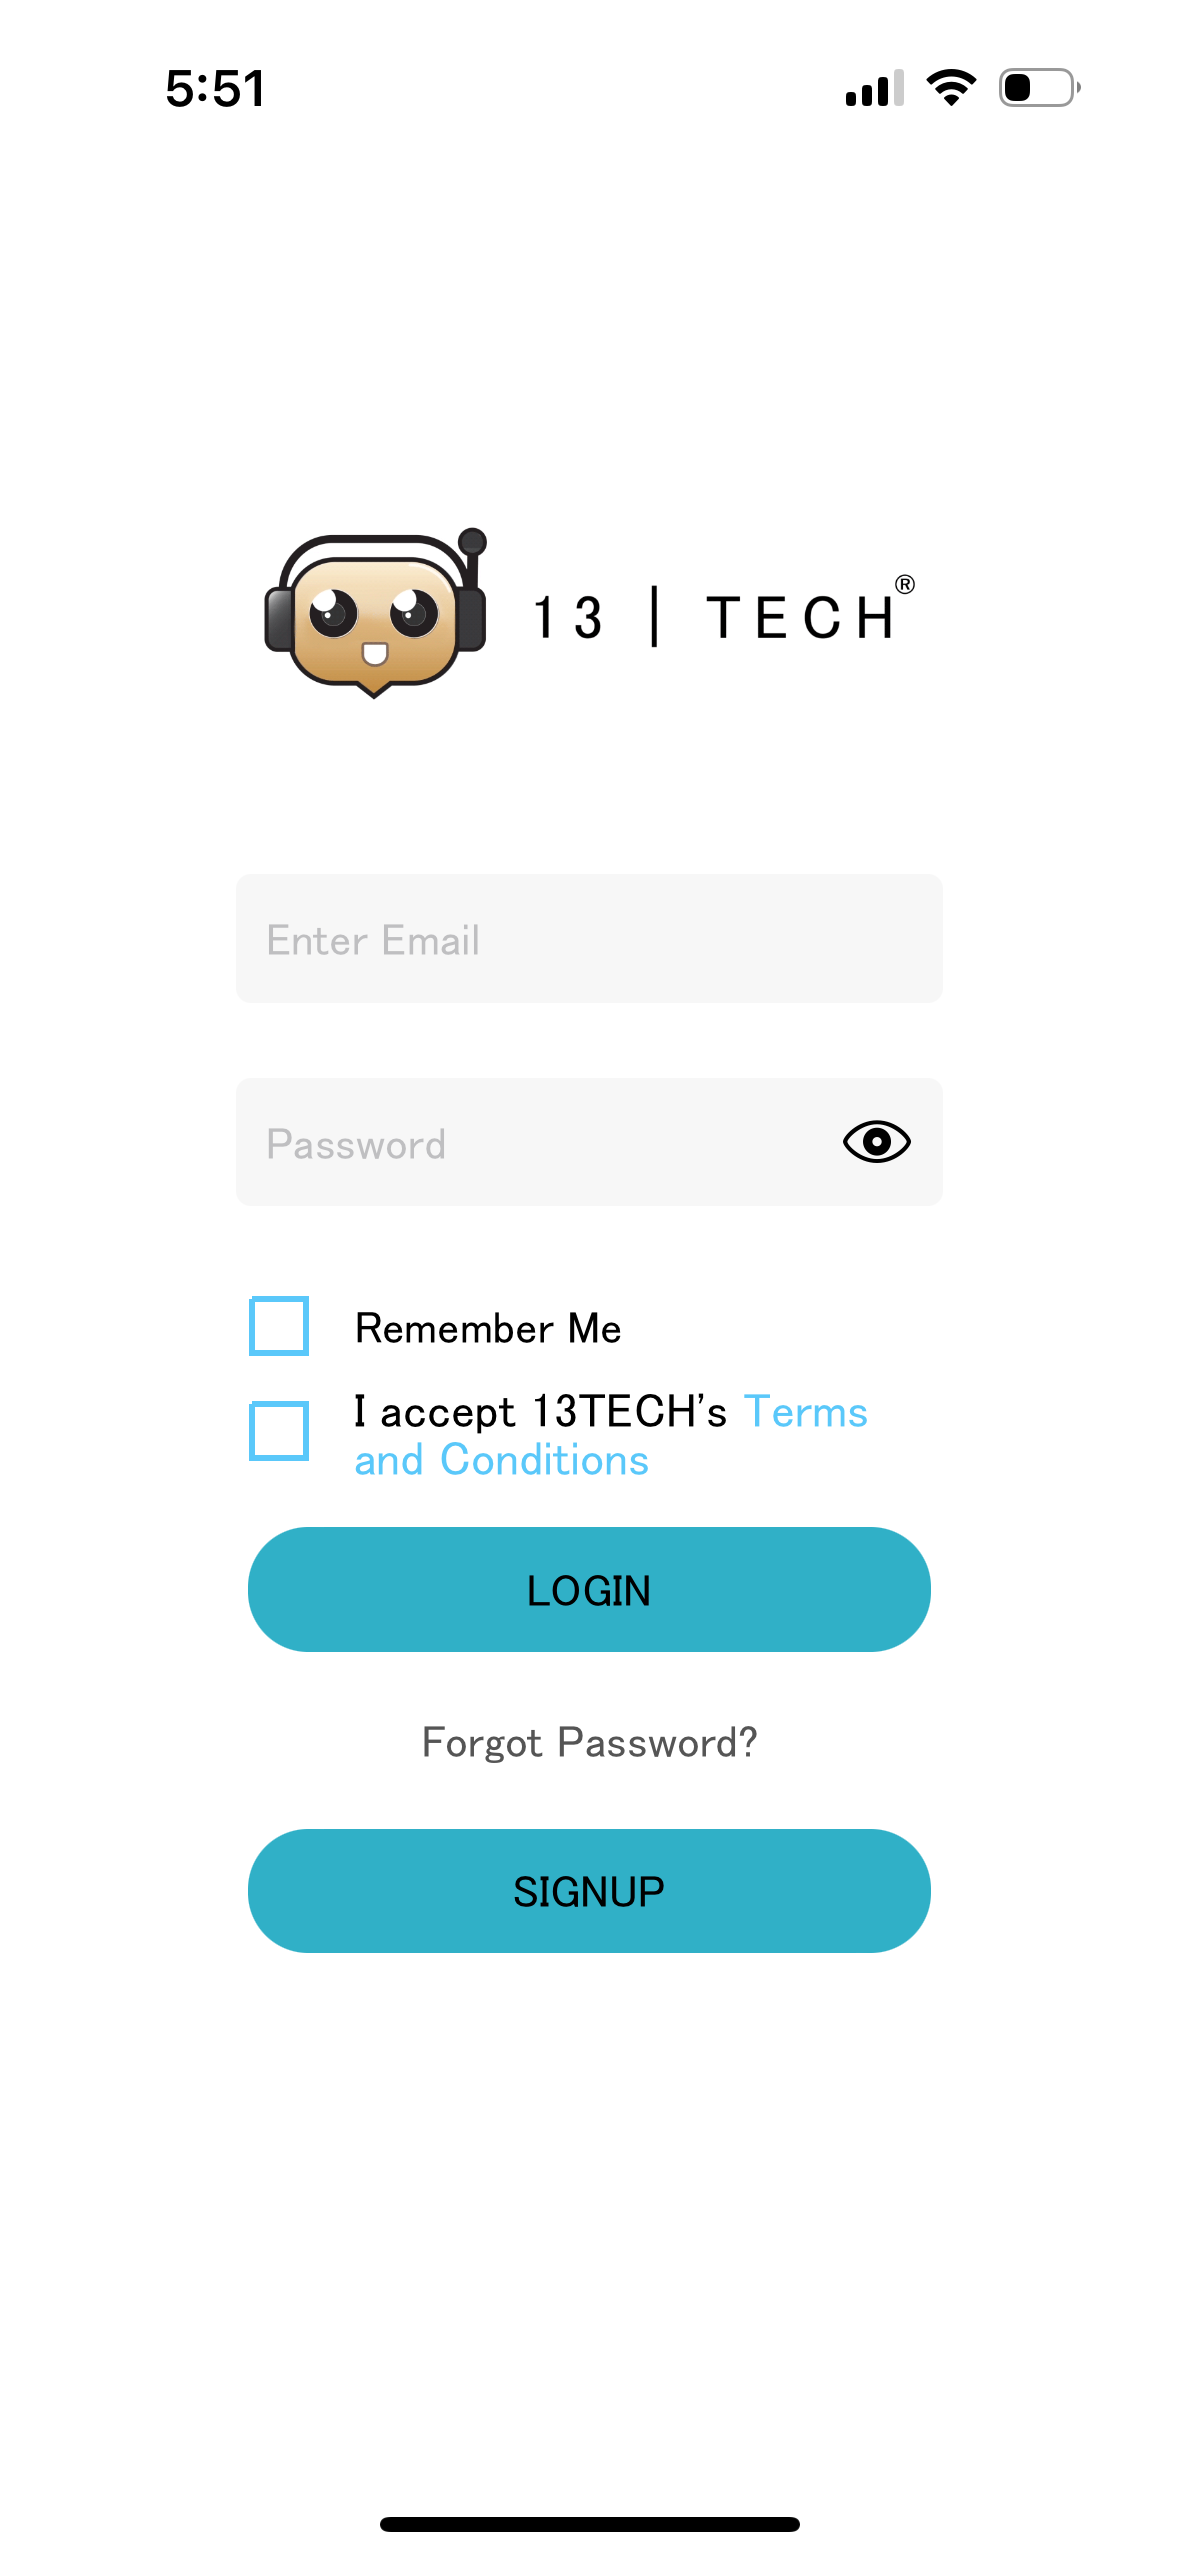
Registration and Login
-
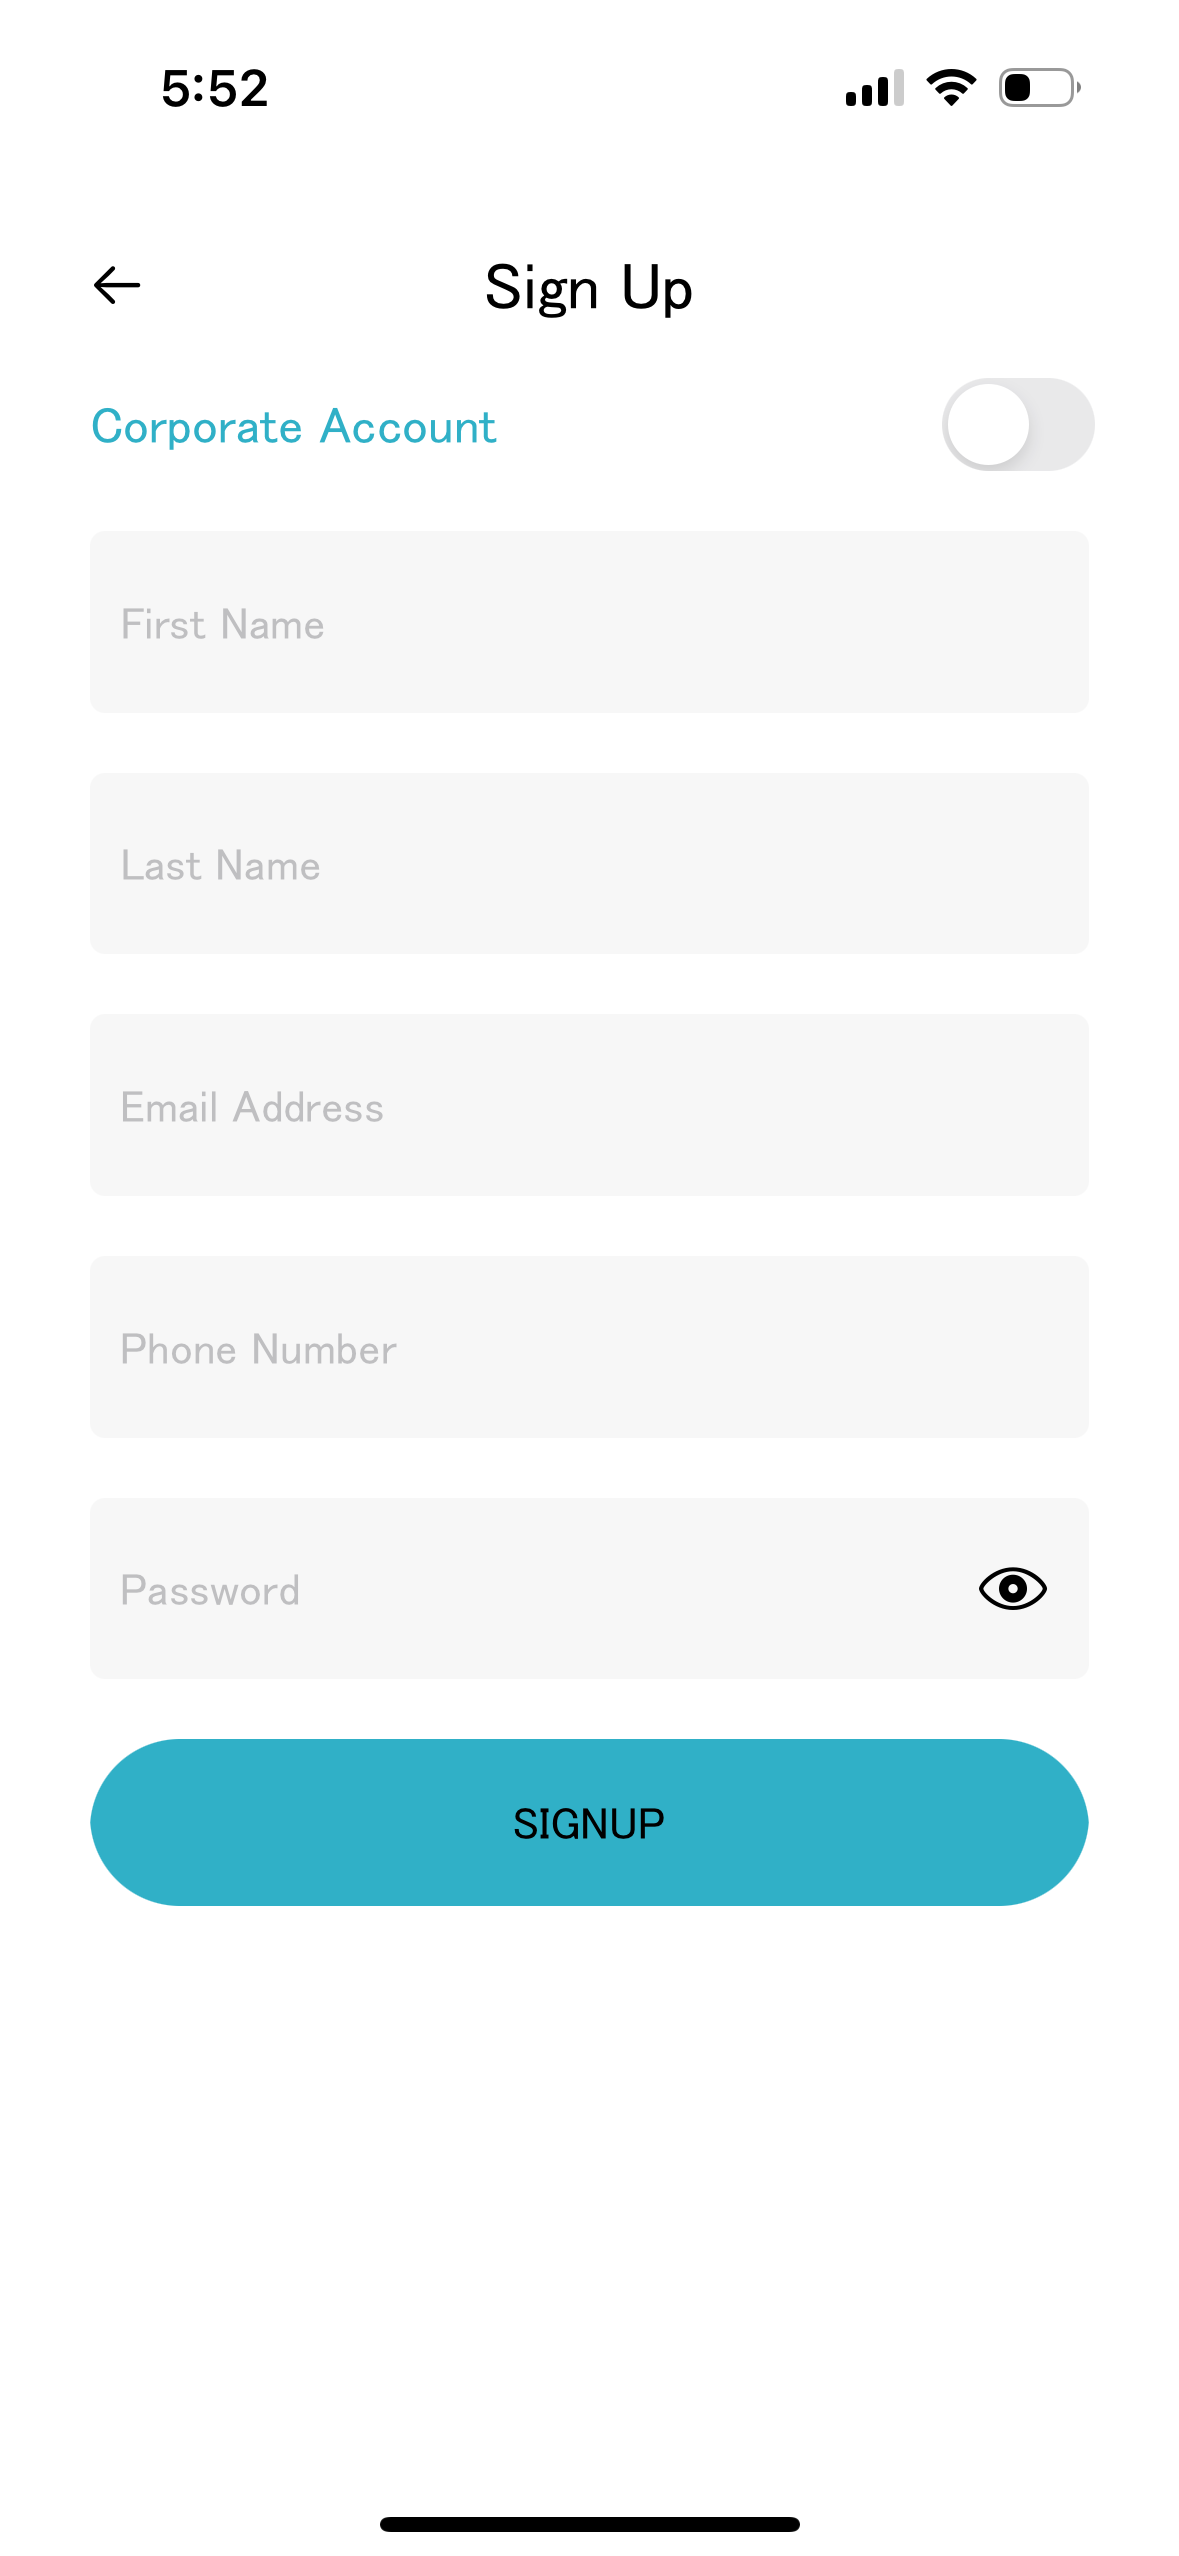
Registration:
-
Click on "Sign Up" to go to the registration page. - Use the toggle button at the top to choose between creating a company or corporate account. If your company is already registered, contact your manager.
- Fill in the necessary details: company name, first name, last name, email address, phone number, and password. Ensure the email is valid for communication and verification.
 Click on the "Sign Up" button to complete the registration.
-
-
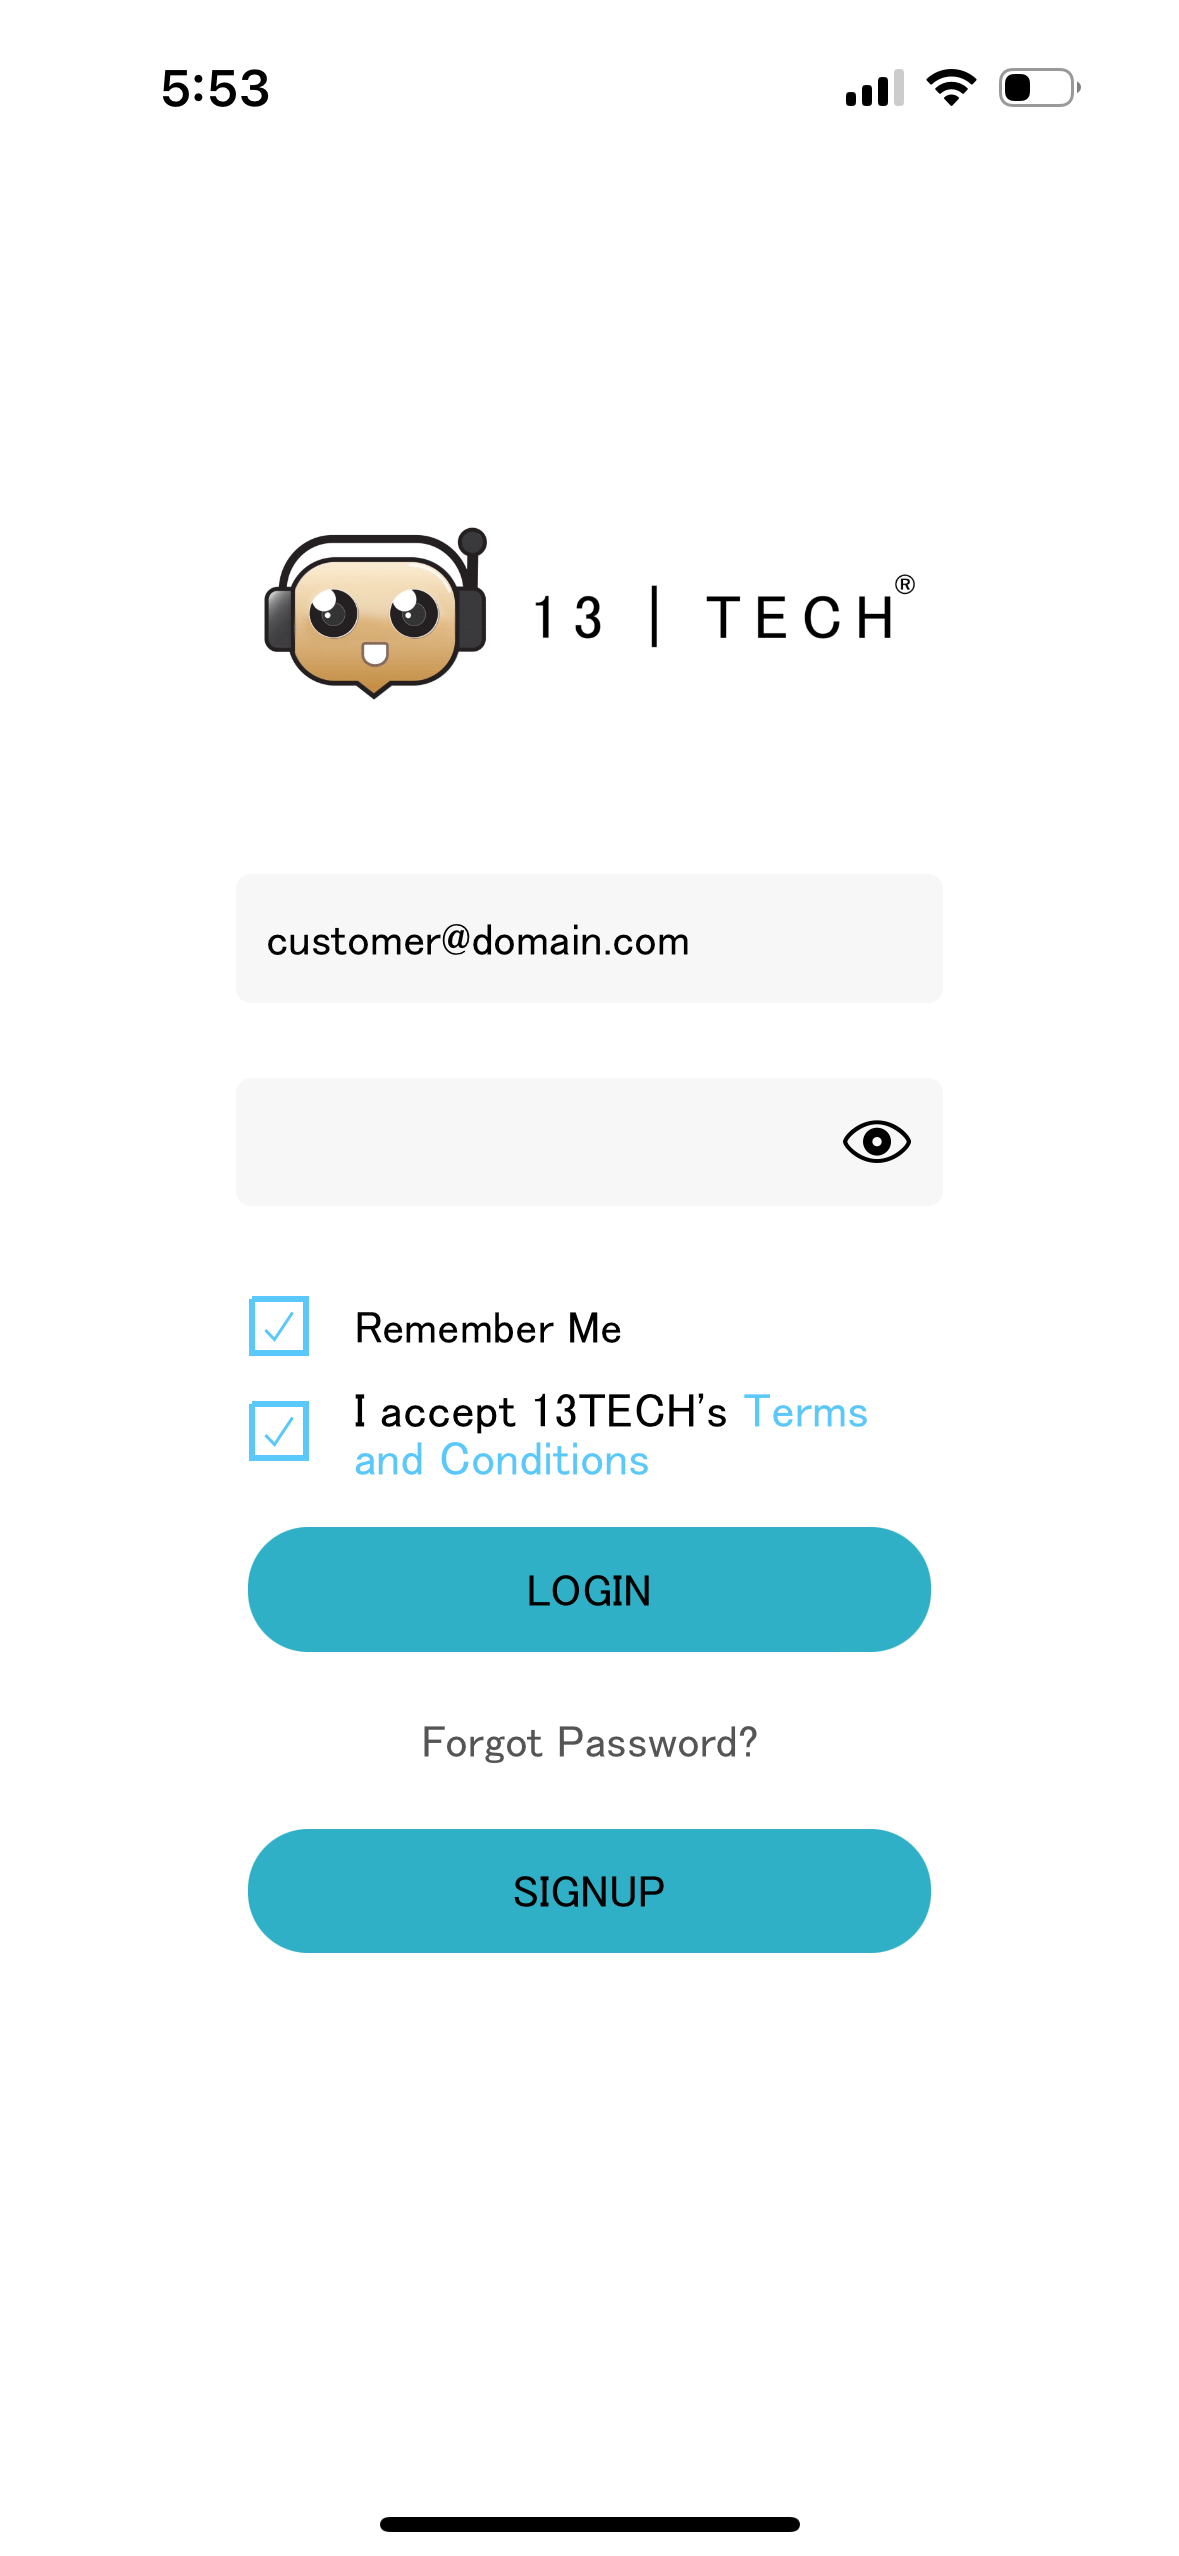
Automatic Redirection to Login Page: After successful registration, you will be redirected to the login page.
-
Login:

- Accept the terms and conditions by clicking the checkbox.
- Optionally, select "Remember me" to save your credentials for future logins.
- Click on the "Login" button to access your account.
- Accept the terms and conditions by clicking the checkbox.
-
Forgot Password: If you forget your password, click on the "Forgot Password" link. A password reset link will be sent to your registered email address. For company or corporate accounts, the account manager or IT manager can reset your password from their control panel.
Using the App
-
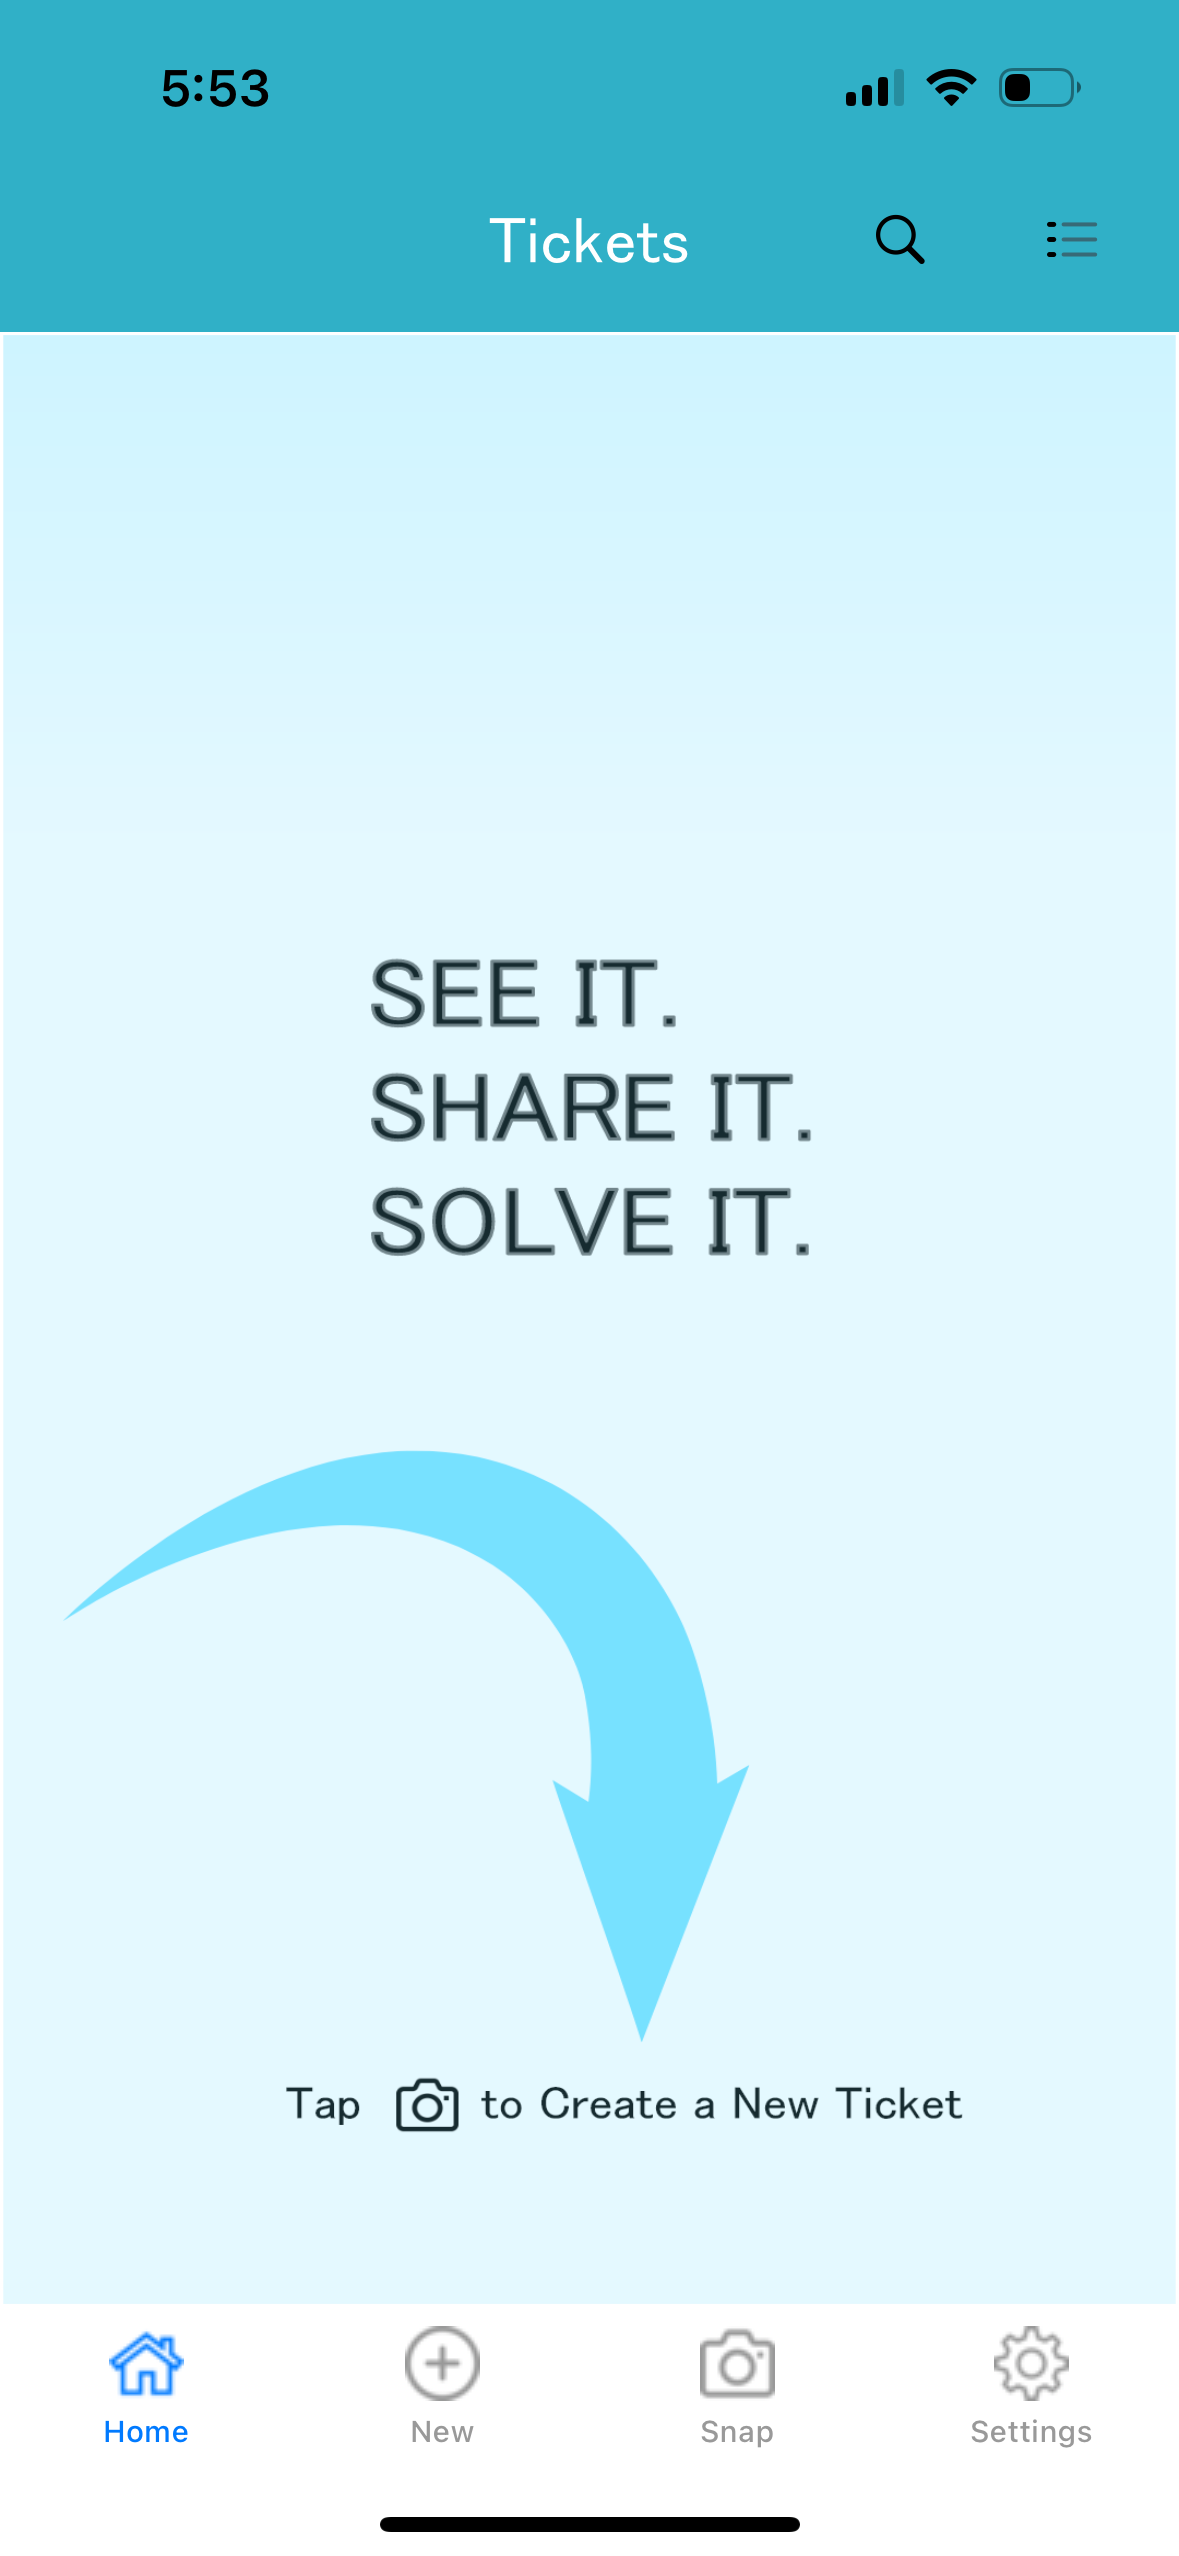
First Login - Create Issue Ticket: On your first login, you will be guided to create an issue ticket. Use your mobile camera to capture an image or video showing the issue or requirement.

-
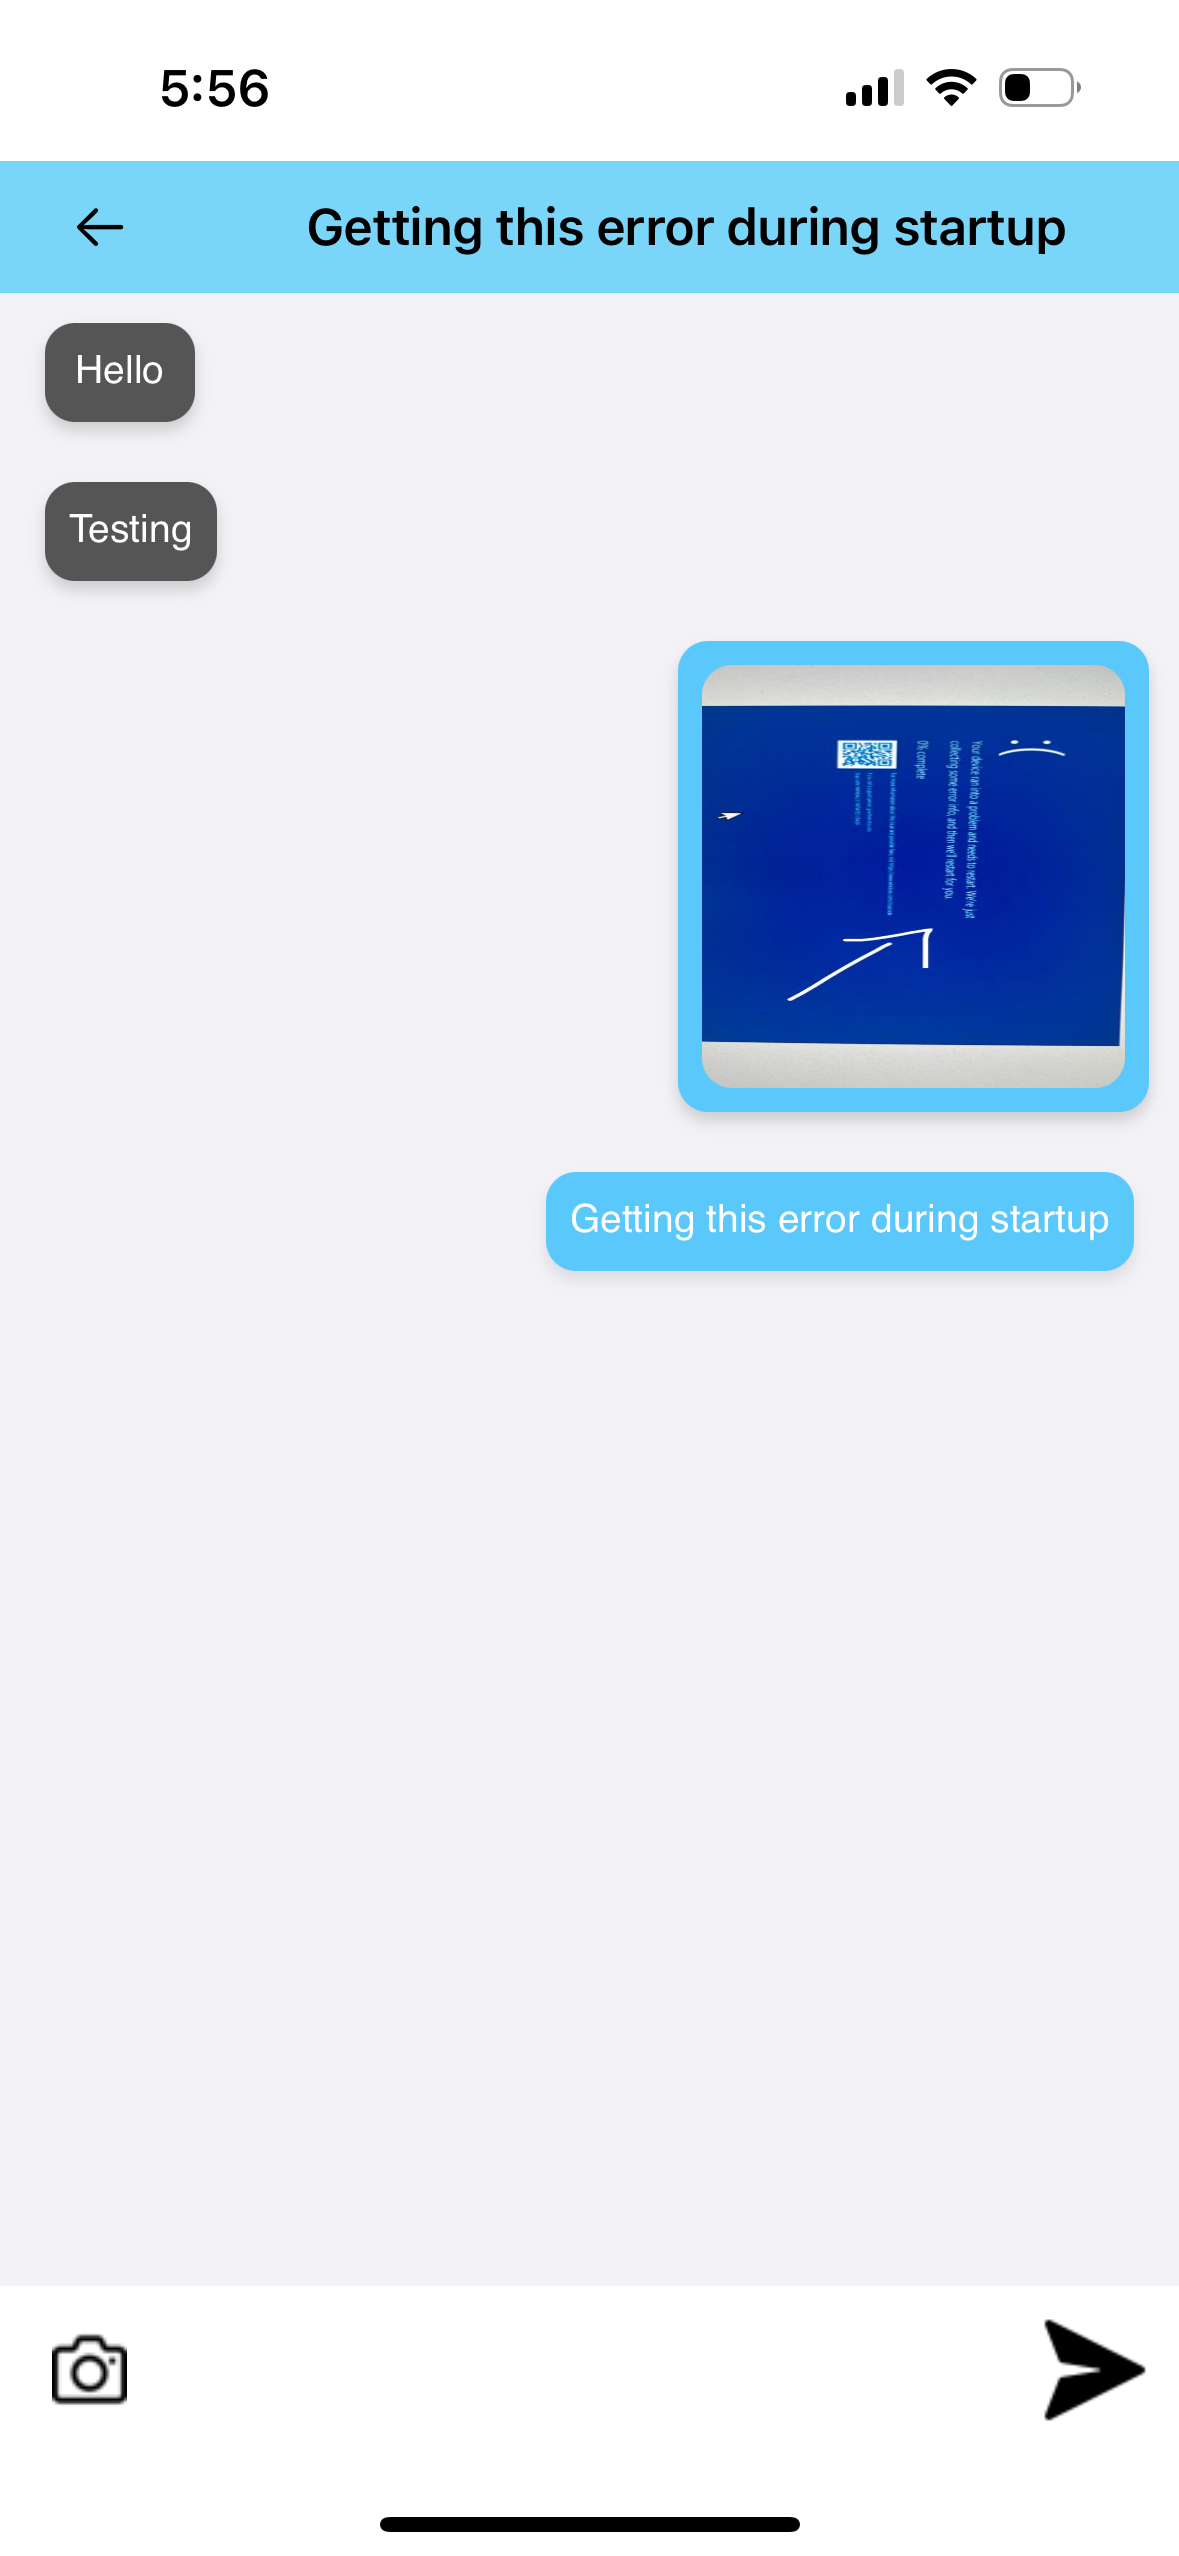
Chat Screen: After creating a ticket, you will be taken to a chat screen where you can interact with technicians. You can send texts, images, and videos to explain your requirements or issues.
 Image Annotation Tool: If you take a live picture, you can use the annotation tool to draw and write on the image. This tool allows you to select colors and brush sizes to mark your requirements clearly.
 -
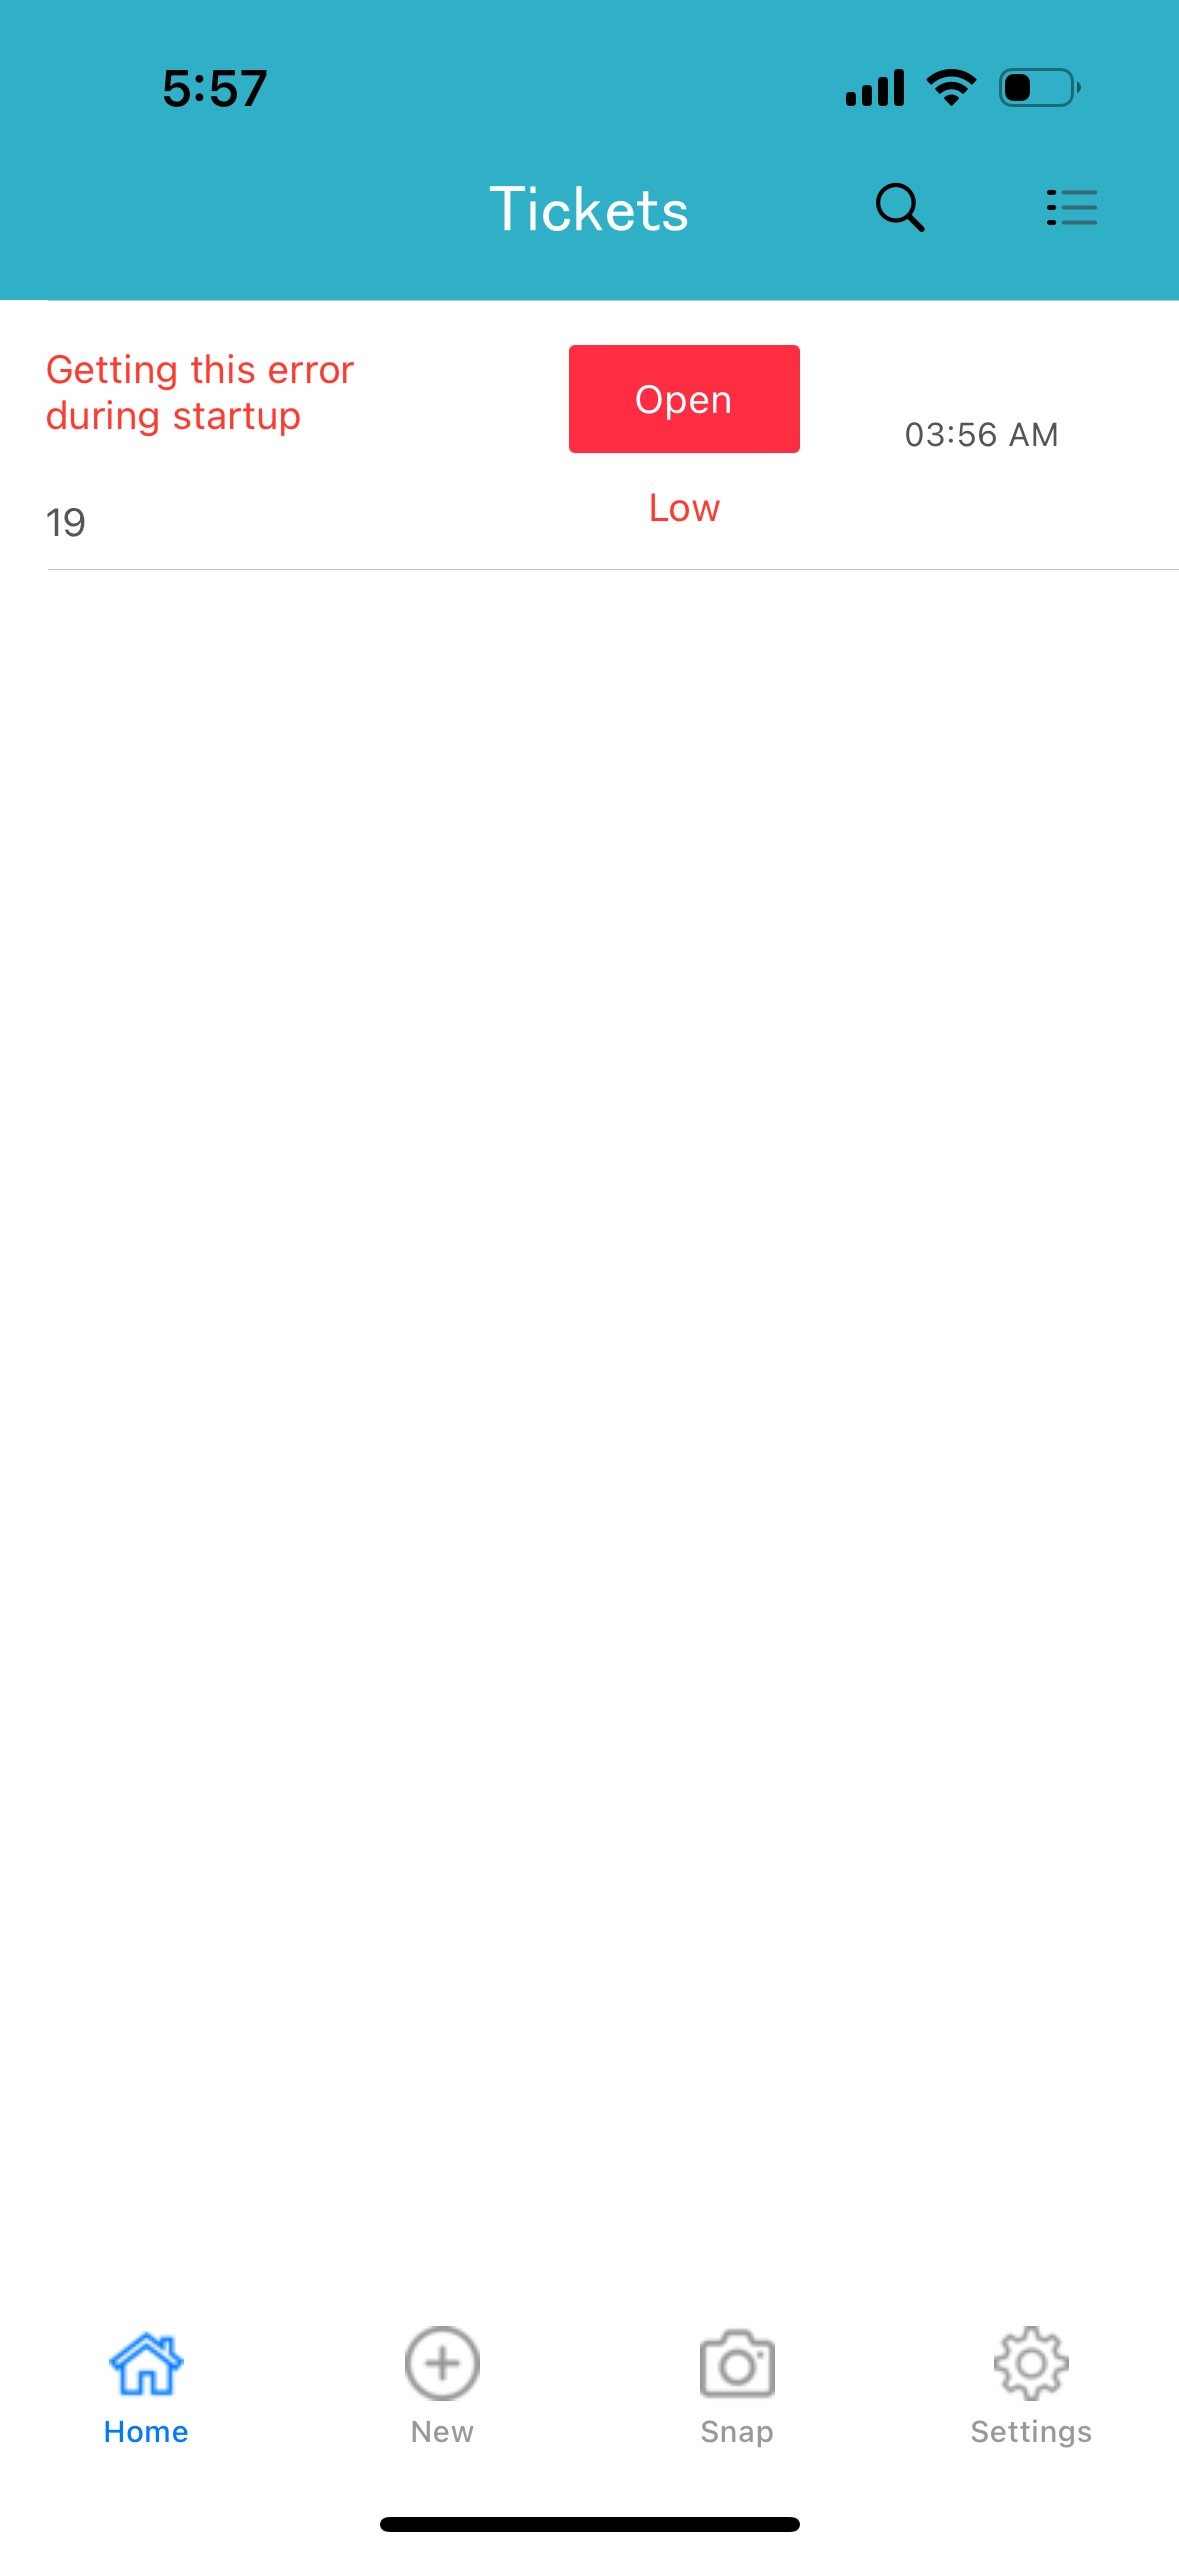
Back to Ticket List: Clicking the back button will take you to the ticket list, which displays the subject, status, and time of
 .
. -
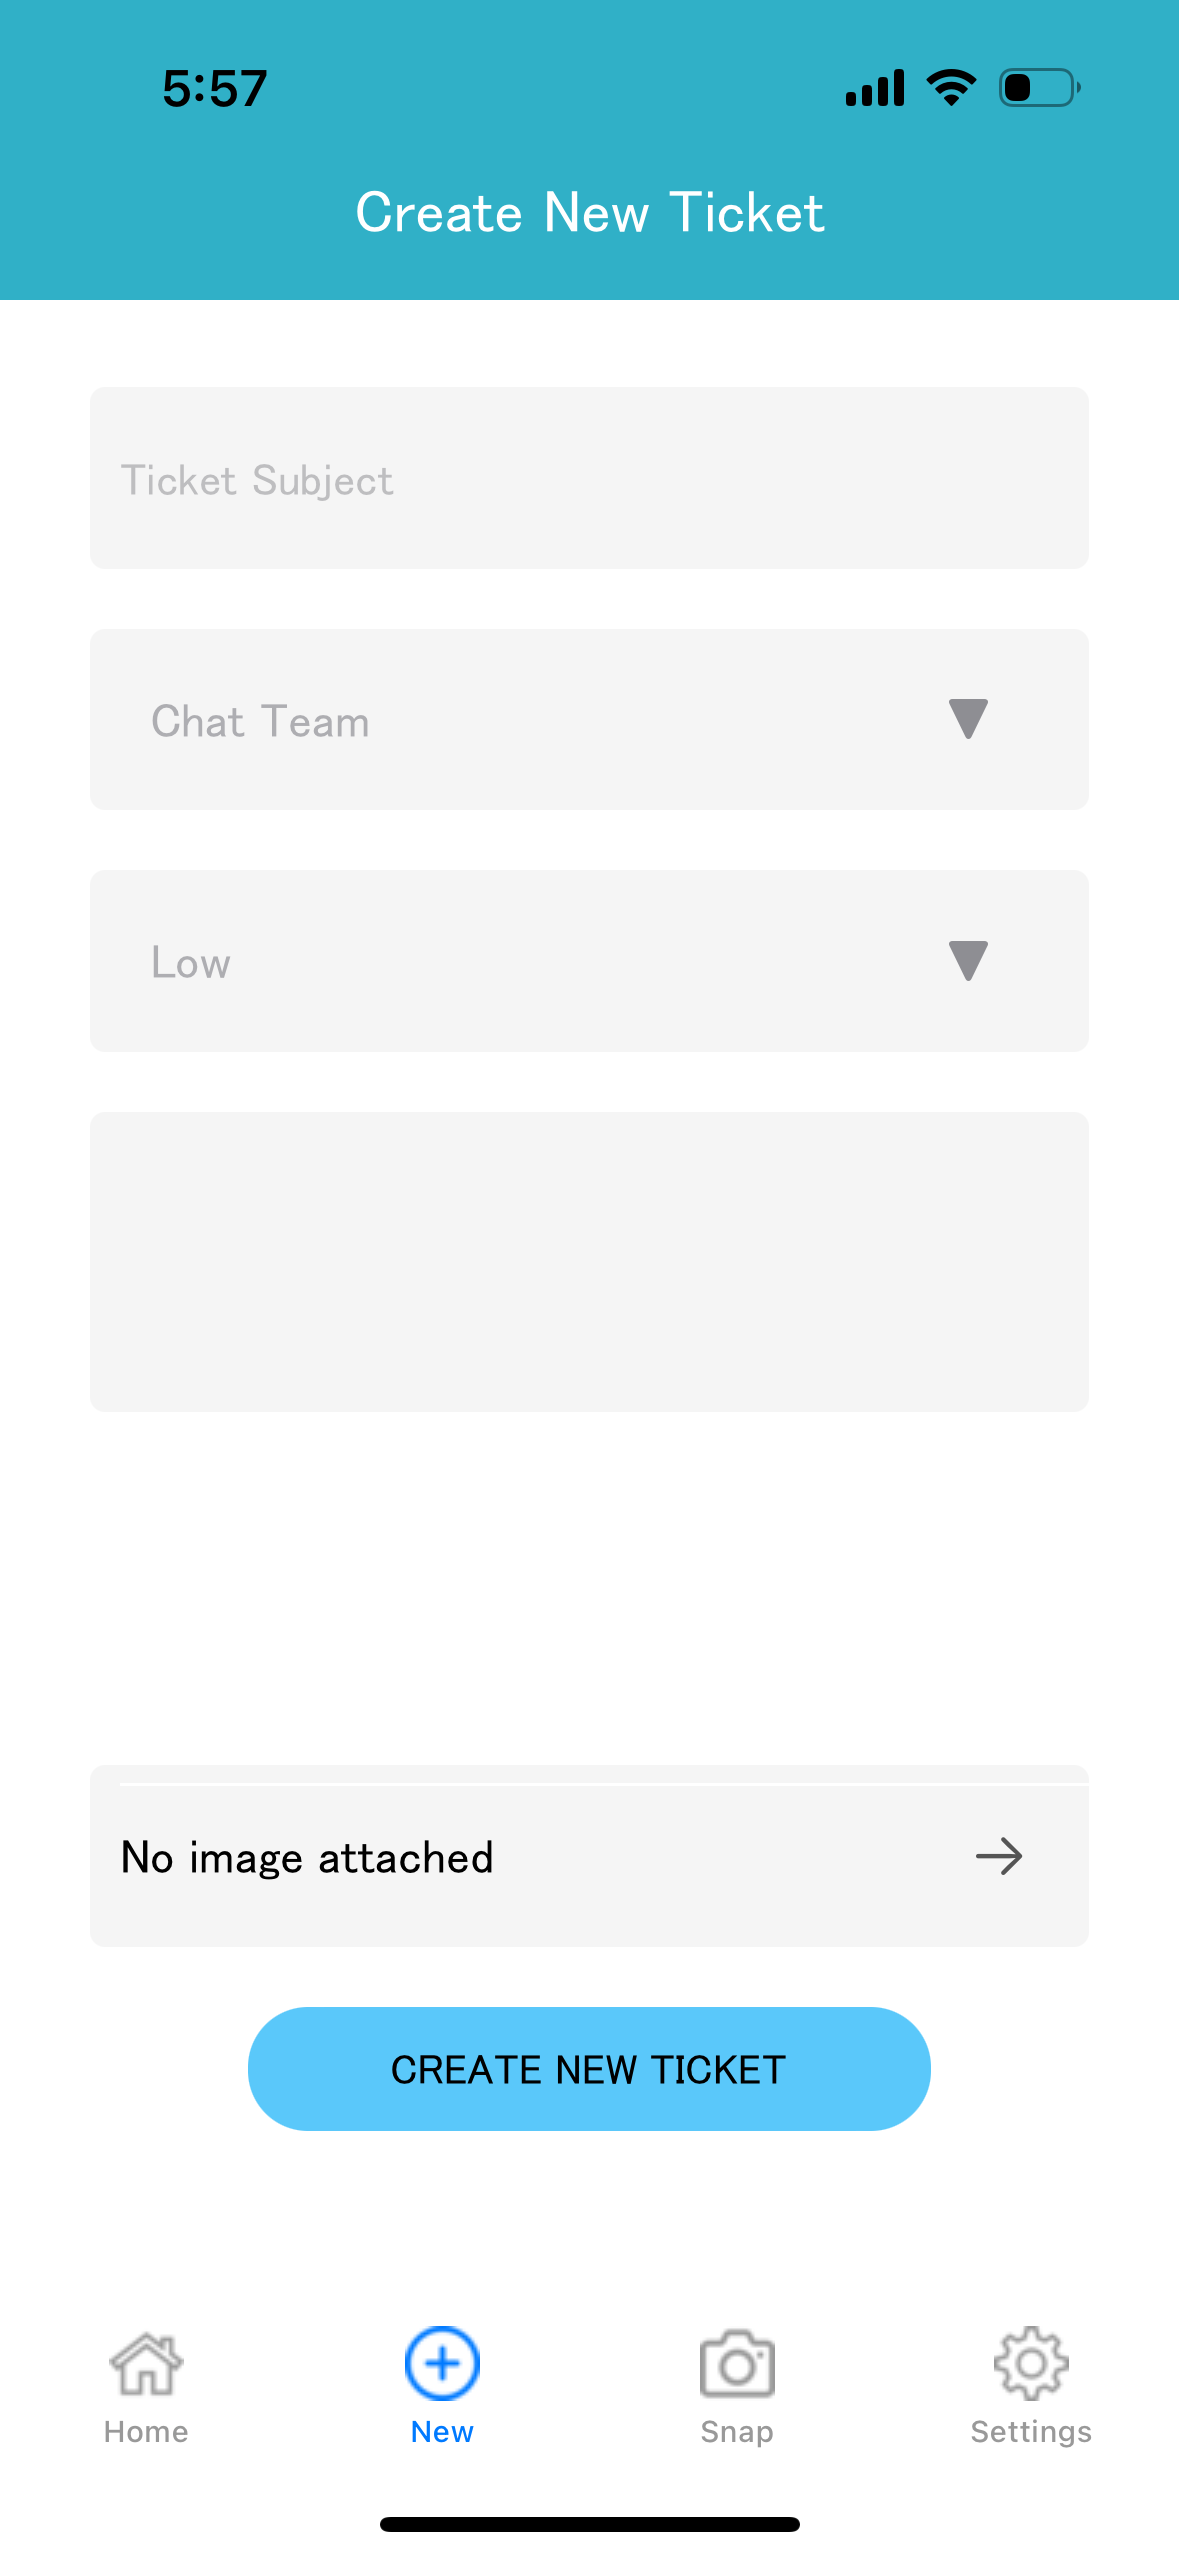
Form-Based Ticket Creation: If you prefer not to use images or videos, click on the "New" button at the bottom of the screen to create a ticket using a form. You can use text or an image from your gallery for the ticket.

-
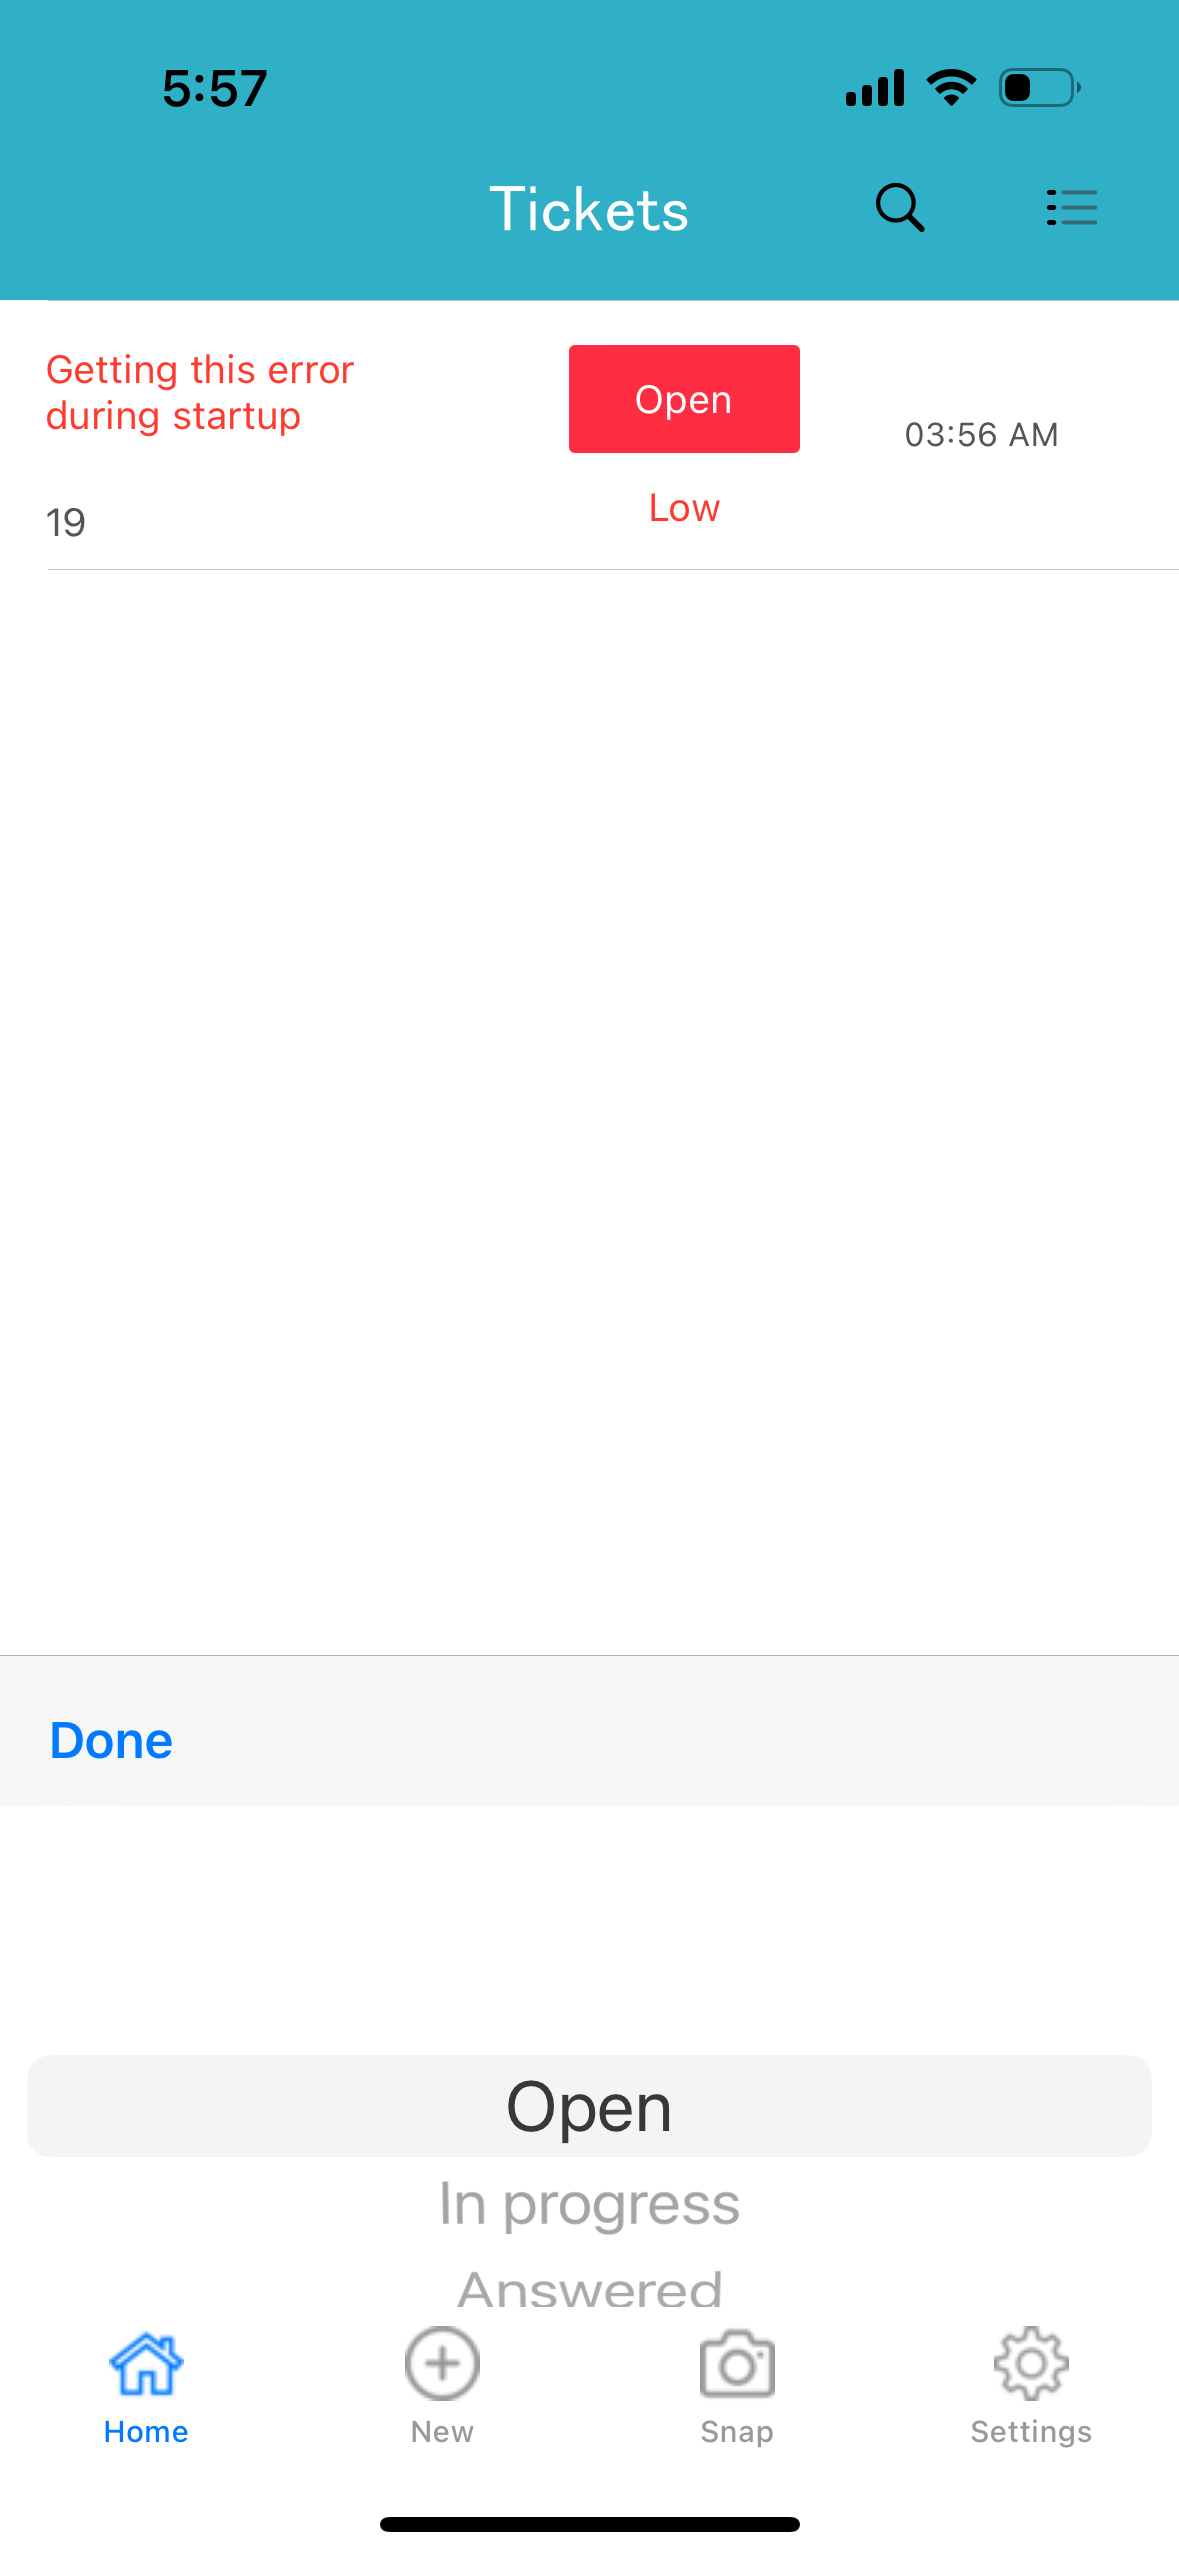
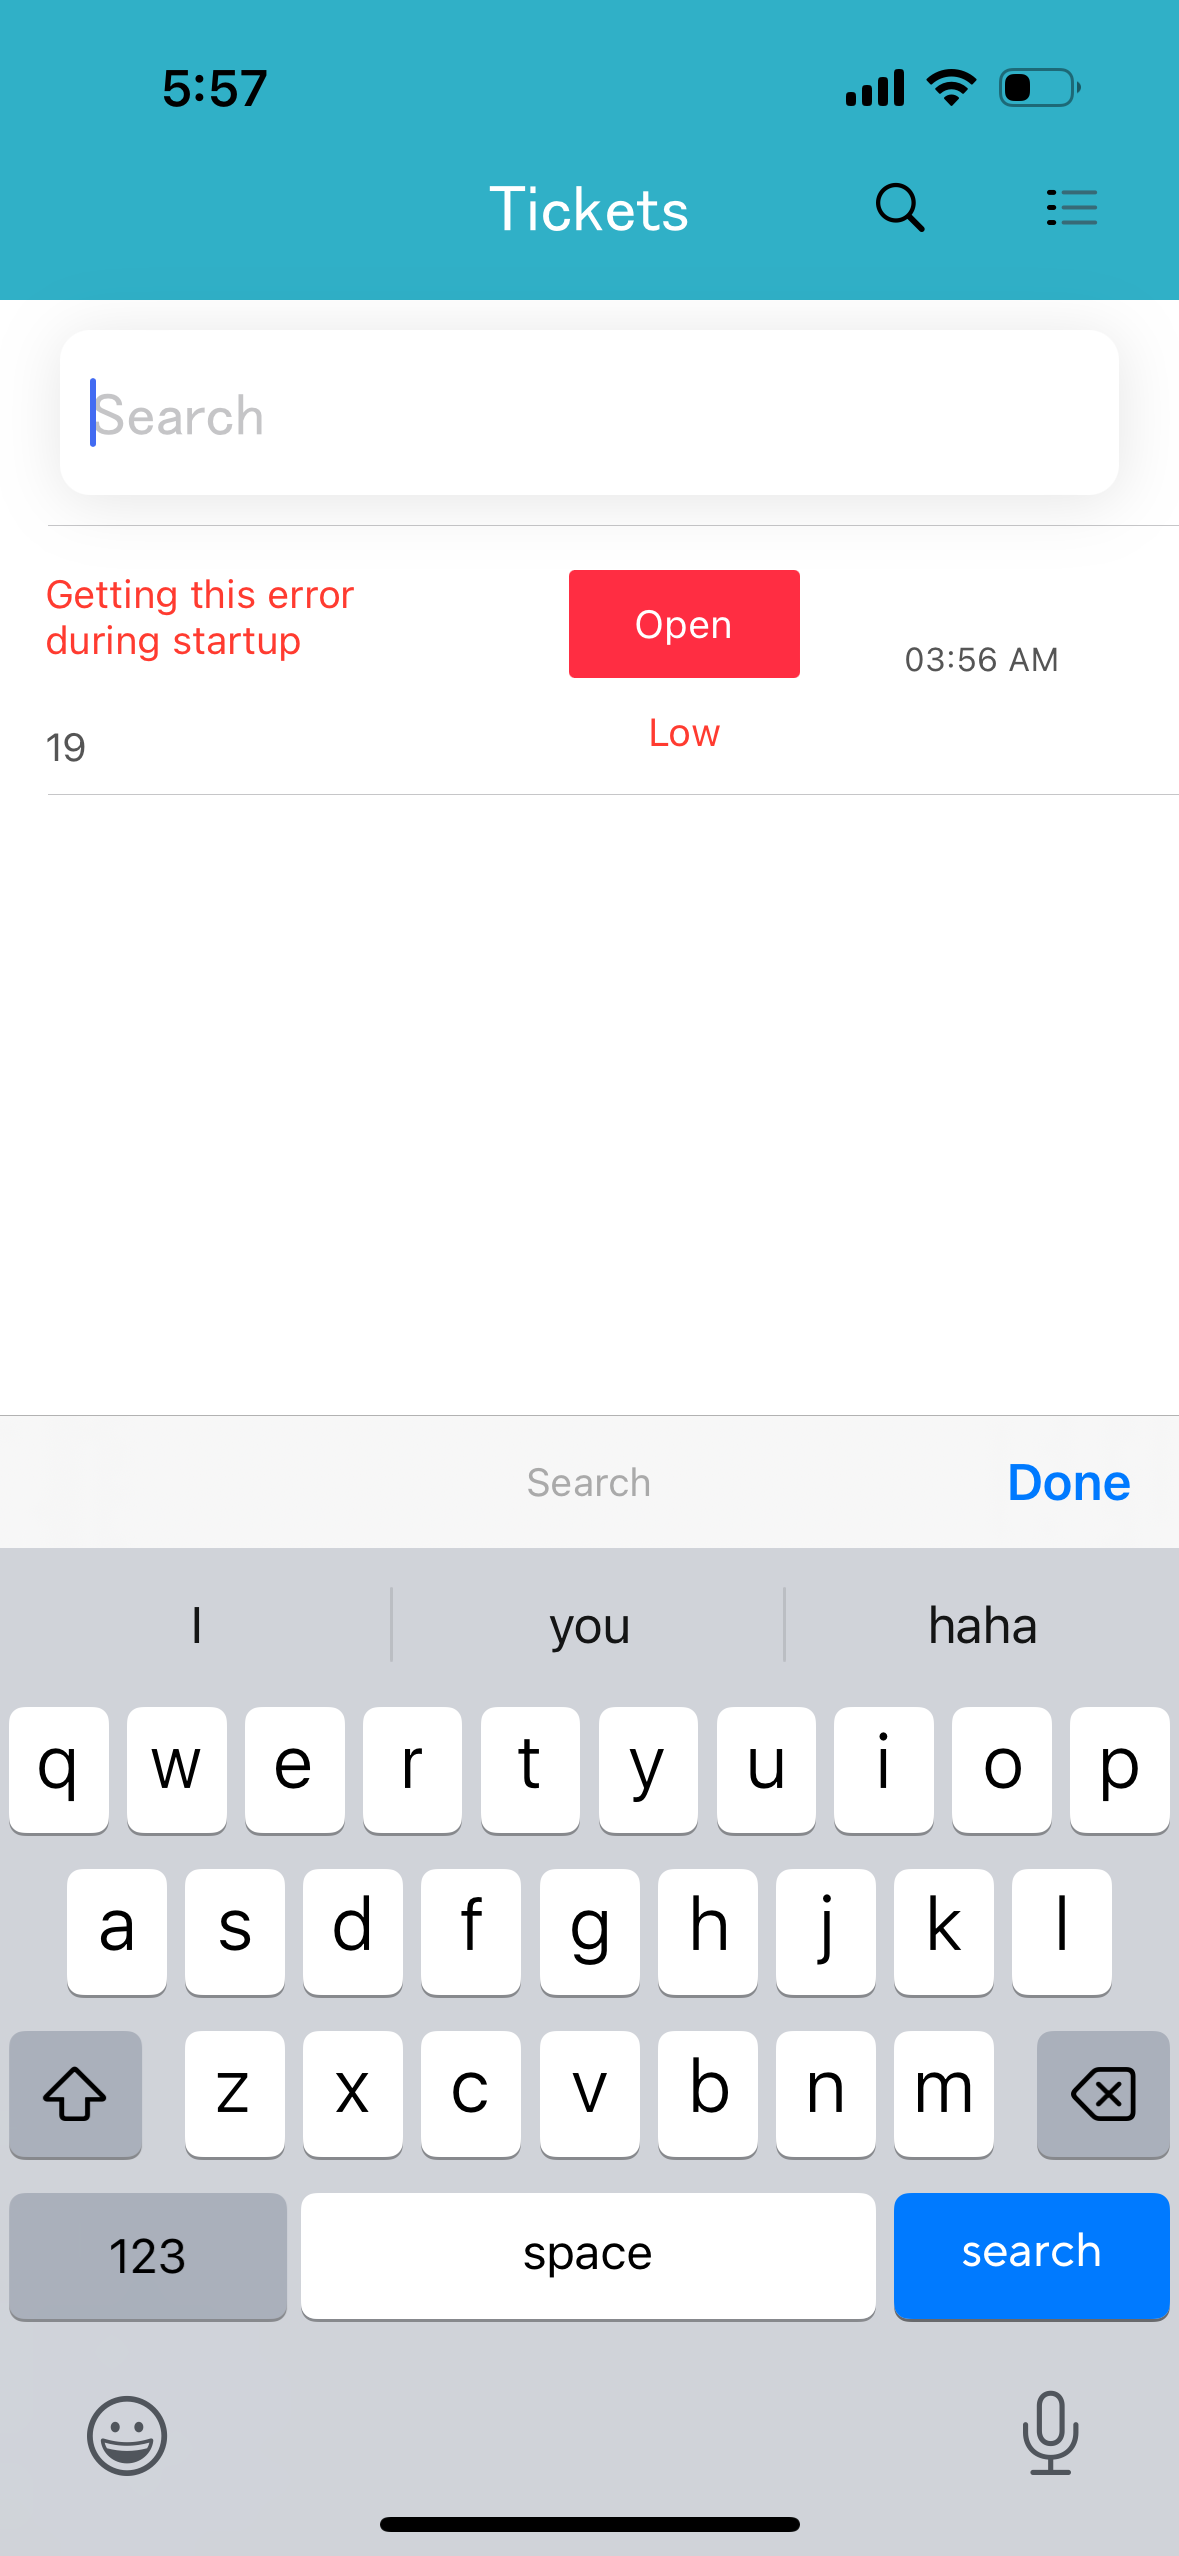
Filter and Search Tickets:
 .
.
-
- Use the filter options to sort tickets by status for easier management.
- Use the search icon on the top right to search for ticket subjects if you have multiple tickets.
12. Settings:
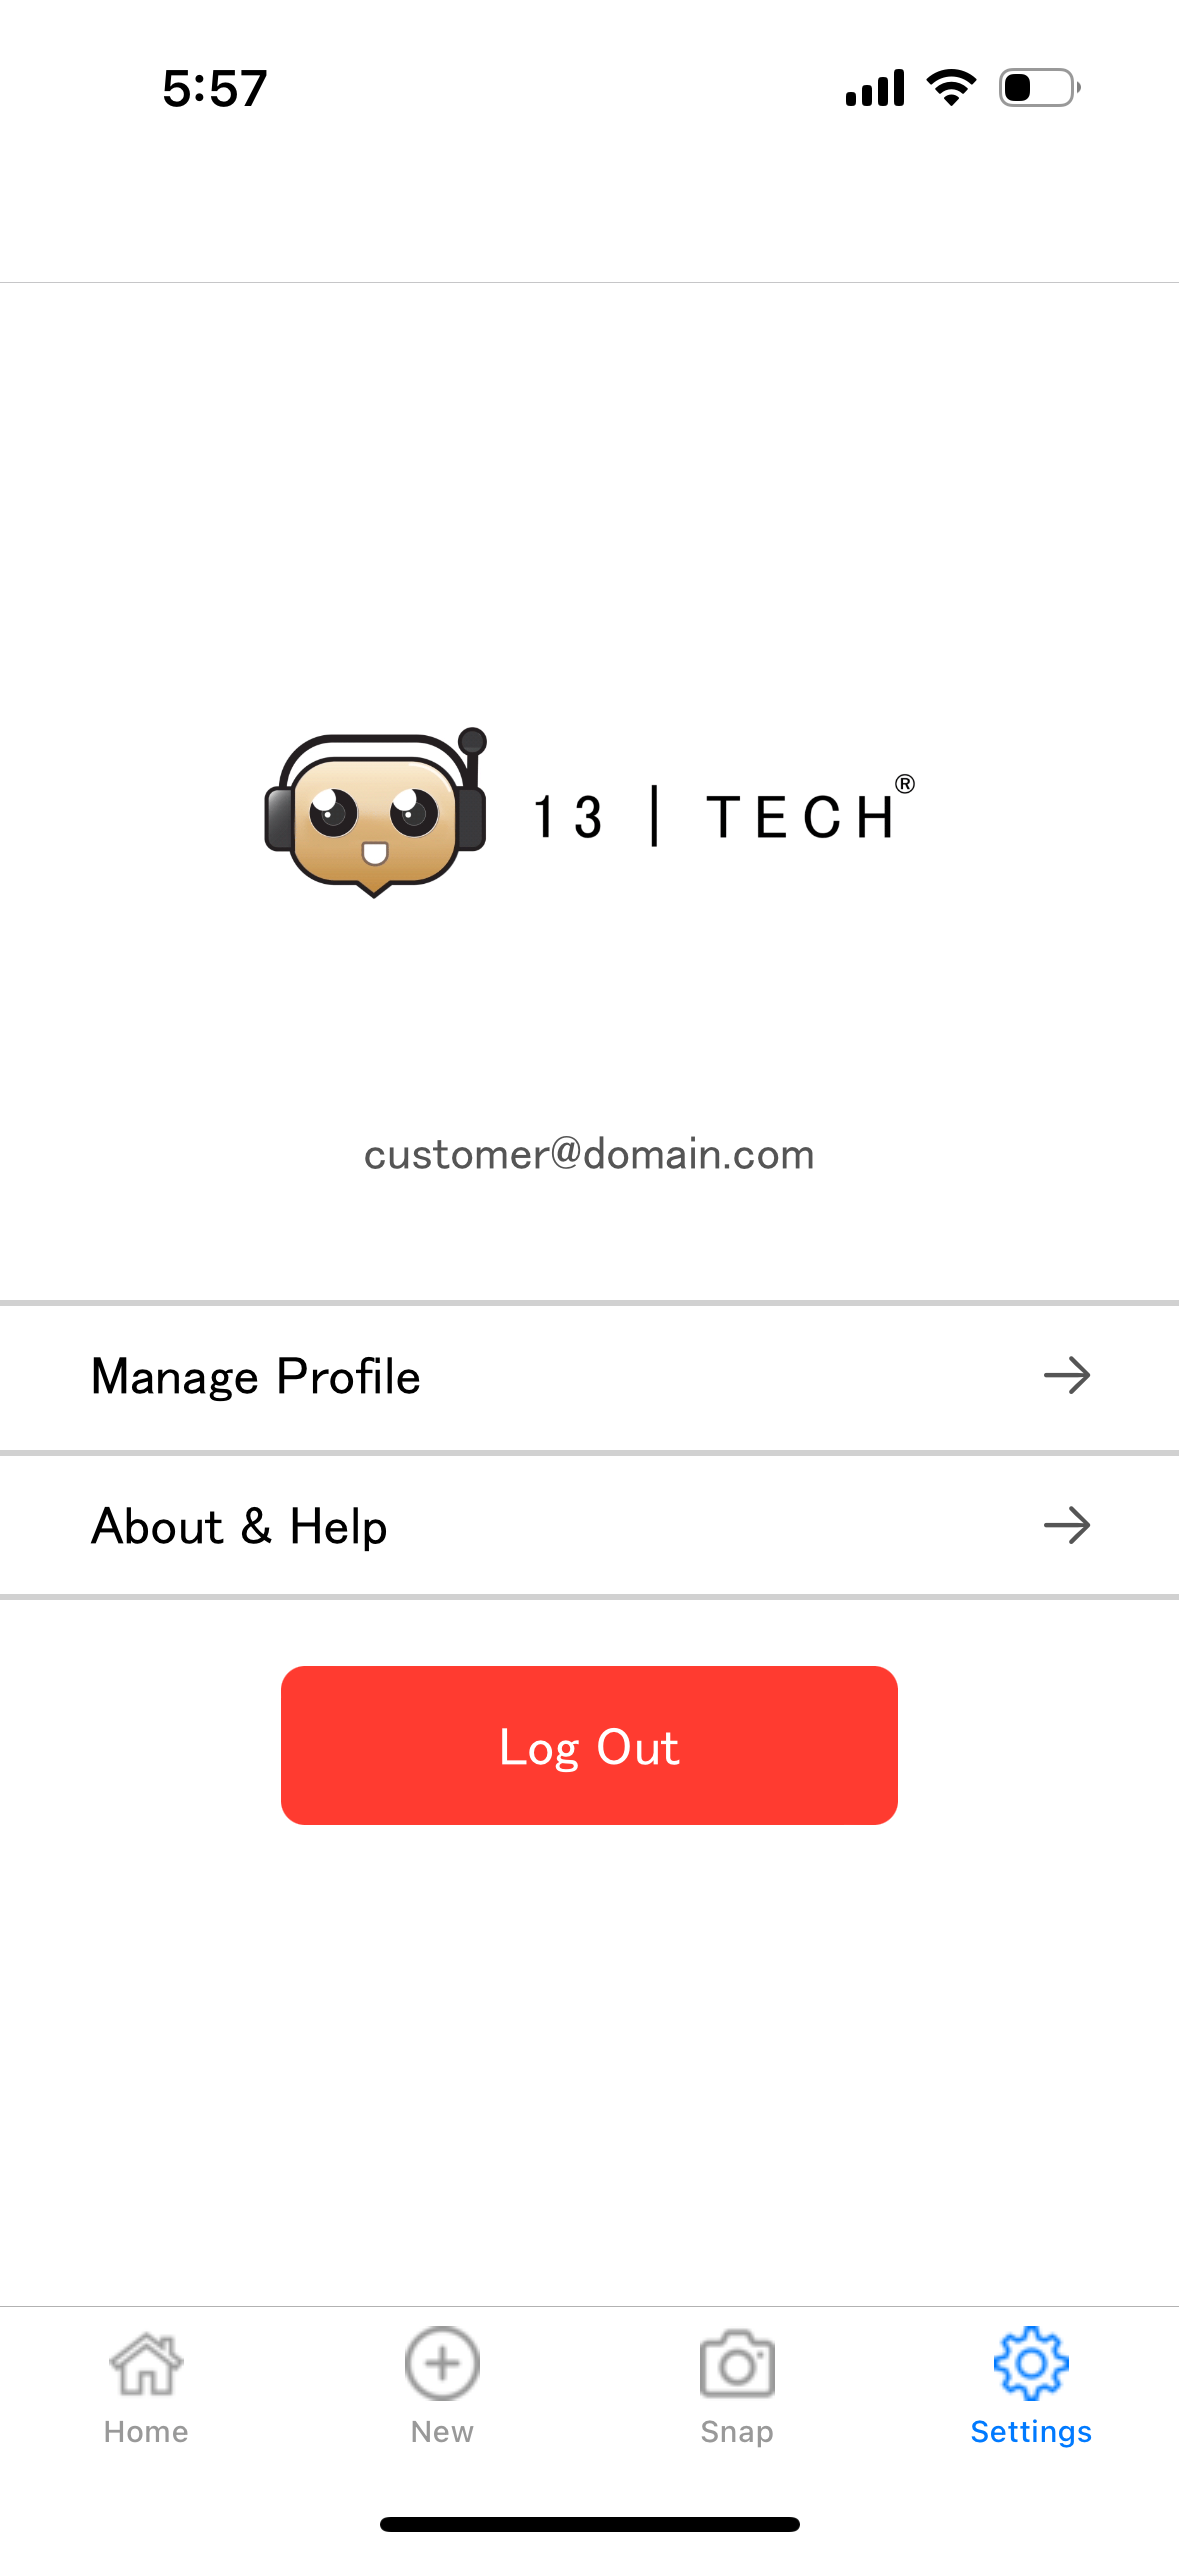
Settings will allow you to manage your profile, change password.